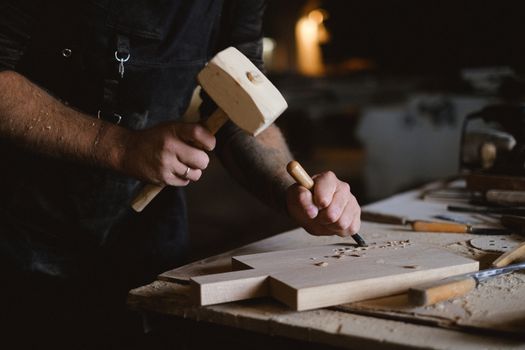
Introduction to Router Techniques
Woodworking with routers is an art that can transform ordinary pieces of wood into stunning, detailed furniture. Whether you're working on a simple shelf or a complex dining table, mastering router techniques allows you to add decorative edges, grooves, and inlays. However, many woodworkers, especially beginners, often encounter pitfalls when using routers. In this article, we will explore common mistakes to avoid and provide troubleshooting tips to help you achieve perfection in your wood projects.
Understanding Router Basics
Before diving into the common mistakes, let’s first understand what a router is. A router is a versatile power tool designed to hollow out (or rout) areas in wood. It comes with various bits that can create different profiles and shapes. Here are a few basic router types:
- Fixed-Base Router: Ideal for beginners and general woodworking tasks.
- Plunge Router: Allows you to start routing in the middle of a workpiece, offering more flexibility for intricate designs.
- Router Table: A stationary setup that provides enhanced control for detailed work.
Common Mistakes to Avoid
1. Using Dull or Incorrect Router Bits
One of the most common mistakes is using dull or inappropriate router bits. Dull bits can tear the wood fibers instead of cutting cleanly, resulting in a rough edge that requires additional sanding.
Fix: Always inspect your router bits before starting a project. If you notice any dullness, sharpen or replace them. Ensure that you are using the right bit for the desired profile.
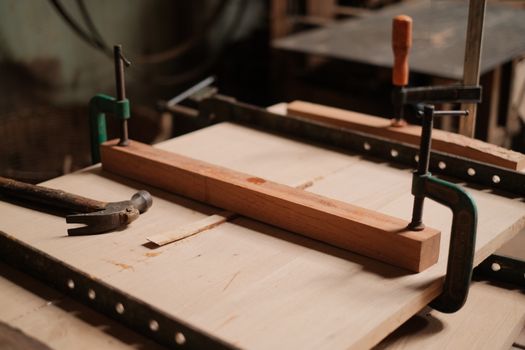
2. Not Securing the Workpiece Properly
Another frequent error is failing to properly secure the workpiece. If the wood moves while you are routing, it can lead to uneven cuts and accidents.
Fix: Use clamps or a workbench vise to securely hold your workpiece in place. If you're routing small pieces, consider using a jig or a push stick for added safety.
3. Rushing the Routing Process
Many woodworkers are eager to see results and rush through the routing process. Rushing can lead to mistakes and poor-quality work, including burns on the wood or uneven edges.
Fix: Take your time and allow the router to do the work. Move the router at a steady pace, and avoid forcing it through the wood. If you're creating multiple passes, make sure to set the depth gradually.
4. Ignoring the Grain Direction
Routing against the grain can cause tear-out, resulting in a messy finish. This mistake is often overlooked by beginners.
Fix: Always check the wood grain direction before routing. Route with the grain to achieve a smoother finish and avoid chipping.
5. Not Using Proper Safety Gear
Safety is paramount in woodworking, yet many forget to wear the correct protective gear. Not using safety goggles or ear protection can lead to serious injuries.
Fix: Always wear eye protection to shield against wood chips and dust, and use ear protection to guard against the router's loud noise. Additionally, a dust mask can help you avoid inhaling sawdust.
Troubleshooting Tips for Router Techniques
1. Dealing with Tear-Out
If you encounter tear-out, there are several steps you can take:
- Reduce your feed rate and take lighter passes.
- Use a climb-cutting technique when appropriate, as this can help minimize tear-out.
- Consider using masking tape on the edges of your workpiece to help stabilize the wood fibers.
2. Fixing Burn Marks
Burn marks usually indicate that you're moving the router too slowly or using a dull bit. Here’s how to fix it:
- Ensure you are using sharp bits.
- Increase your feed rate to reduce heat build-up while routing.
- Make shallow cuts instead of a single deep cut.
3. Achieving Consistent Depth
If you're struggling to maintain a consistent depth, consider these tips:
- Use a depth gauge to set your router correctly before starting.
- Make multiple passes, gradually increasing the depth with each pass.
- Check your router's base for stability and ensure it is securely attached.
Getting Inspired: Router Plans Resource
If you're looking for detailed plans to guide you through your next project, consider exploring Ted Woodworking. This resource offers a plethora of woodworking plans that cater to different skill levels, ensuring you’ll find the right plan for your router project.
Conclusion
Mastering router techniques can elevate your woodworking projects from simple to spectacular. By avoiding common mistakes and implementing the troubleshooting tips discussed, you'll be well on your way to creating detailed and beautiful wood projects that showcase your skills. Remember, practice makes perfect, so keep routing and refining your technique!
FAQ
1. What type of router is best for beginners?
A fixed-base router is often recommended for beginners due to its ease of use and versatility in various woodworking projects.
2. How do I know when to replace my router bits?
If you notice burn marks on your workpiece, rough cuts, or if the bit is visibly damaged, it's time to replace or sharpen the bits.
3. Can I use a router for different types of wood?
Yes, routers can be used on various wood types. However, be mindful that harder woods may require sharper bits and different techniques to achieve the best results.
📚 Related Articles
🔨 Want 16,000+ Woodworking Plans?
Get instant access to step-by-step plans with blueprints and cut lists.
Get Instant Access →