Introduction
Building a wooden bench can be an excellent project for beginners looking to hone their woodworking skills. Not only is it functional, but it also provides a great opportunity to learn about design, joinery, and finishing techniques. In this article, we will guide you through the process of designing a simple wooden bench while highlighting common mistakes to avoid and offering troubleshooting tips.
Step 1: Planning Your Design
Before you start cutting wood, it's essential to plan your design. Here are some aspects to consider:
- Dimensions: Determine the size of your bench based on where it will be placed and how many people it should accommodate. A typical bench is about 18 inches high and can range from 4 to 6 feet in length.
- Style: Decide on the aesthetic you want to achieve. Will it be rustic, modern, or traditional? This will influence your choice of wood and finish.
- Joinery: Choose how you'll join the pieces together. Simple butt joints or pocket hole joinery are great for beginners.
Step 2: Choosing Your Materials
For a simple wooden bench, select sturdy hardwood or softwood. Common choices include:
- Oak: Durable and strong, perfect for a long-lasting bench.
- Pine: Affordable and easy to work with, but less durable than hardwoods.
- Poplar: A great choice for painted finishes due to its smooth surface.
Make sure to source good quality wood, as defects can lead to structural issues later.
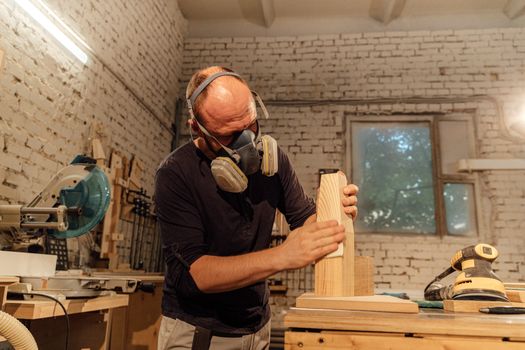
Step 3: Creating Your Cutting List
Your cutting list should include the following components:
- Seat board: One or more boards that will form the top of the bench.
- Legs: Four sturdy pieces that will support the bench.
- Support beams: Additional pieces to stabilize the structure.
Be precise with your measurements to avoid any mistakes during assembly.
Step 4: Common Mistakes to Avoid
Even the simplest bench can present challenges. Here are some common mistakes to avoid:
- Inaccurate Measurements: Double-check all measurements before making cuts. A small error can lead to a structurally unsound bench.
- Neglecting Wood Grain Direction: Always pay attention to the direction of the grain. Cutting against the grain can result in splintering and a rough finish.
- Using Inappropriate Joinery: If you're unsure about joinery techniques, practice on scrap wood before committing to your bench.
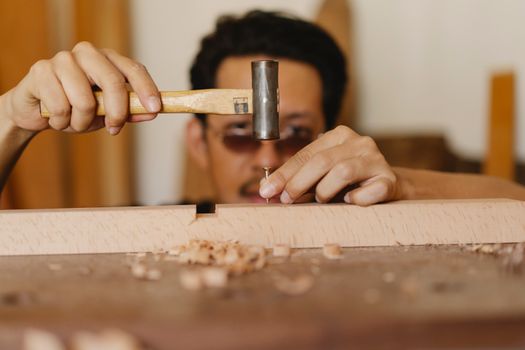
Step 5: Assembling Your Bench
Once your pieces are cut, it’s time to assemble. Follow these steps:
- Dry Fit: Before you glue or screw anything, dry fit all pieces to ensure they fit correctly.
- Use Wood Glue: Apply wood glue to joints for added strength, and clamp them securely until the glue dries.
- Reinforce with Screws: For added stability, use screws in conjunction with glue, especially at joints.
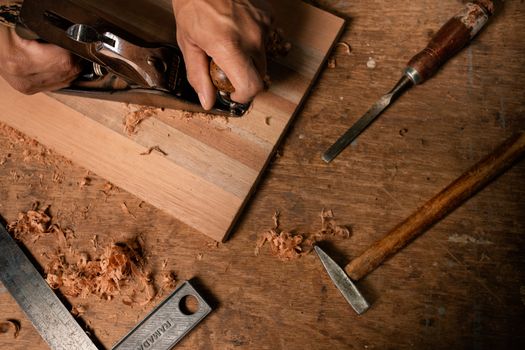
Step 6: Sanding and Finishing
A smooth finish is crucial for a professional-looking bench. Here are some tips:
- Start with Coarse Grit: Begin sanding with a coarse grit sandpaper and gradually move to finer grits.
- Sand with the Grain: Always sand in the direction of the grain to avoid scratches.
- Finish Options: Consider using a wood stain or sealant to protect your bench from moisture and wear.
Step 7: Troubleshooting Common Issues
Even with careful planning, you may encounter issues. Here are some troubleshooting tips:
- Uneven Legs: If your bench wobbles due to uneven legs, use furniture pads or shim under the shorter legs.
- Glue Squeeze-Out: If glue seeps out during assembly, wipe it away immediately with a damp cloth to prevent it from drying on the surface.
- Finish Problems: If your finish runs or looks uneven, lightly sand the area and reapply the finish, ensuring to follow the manufacturer's instructions.
Resources for Plans
If you’re looking for more detailed plans for your bench, consider checking out Ted Woodworking. They offer a variety of woodworking plans that can help guide you through projects of all complexity levels.
Conclusion
Designing and building a simple wooden bench can be a rewarding experience. By carefully planning your design, avoiding common mistakes, and knowing how to troubleshoot issues, you can create a functional and beautiful piece of furniture. Remember, practice makes perfect, so don’t hesitate to build multiple benches to refine your skills!
FAQ
1. What type of wood is best for a beginner's bench?
Pine is often recommended for beginners due to its affordability and ease of use. However, if you want durability, consider hardwoods like oak or maple.
2. How long does it typically take to build a simple bench?
The time it takes can vary, but most beginners can complete a simple bench in a weekend, including planning, cutting, and finishing.
3. Do I need special tools to build a wooden bench?
While some specialized tools can be helpful, a simple bench can be built with basic tools like a saw, drill, sander, and clamps.
📚 Related Articles
🔨 Want 16,000+ Woodworking Plans?
Get instant access to step-by-step plans with blueprints and cut lists.
Get Instant Access →