Introduction
Building your own wooden bookshelf is not just an excellent woodworking project for beginners, but it also allows you to create a custom piece that perfectly fits your space. In this step-by-step guide to making a bookshelf, we'll walk you through the process of constructing an easy DIY bookshelf for beginners. Whether you're looking to add storage to your living room or a decorative piece to your home, this affordable wooden bookshelf project is a fantastic way to enhance your DIY home decor.
Step-by-Step Guide to Making a Bookshelf
Before we dive into the shelf assembly instructions, let’s gather the necessary materials and tools:
Materials Needed
- 3/4 inch plywood or solid wood (choose from wood types for shelves like pine, oak, or birch)
- Wood screws
- Wood glue
- Wood finish or paint (optional)
Tools for Woodworking
- Table saw or circular saw
- Drill
- Screwdriver
- Measuring tape
- Sandpaper or a power sander
- Level
- Clamps
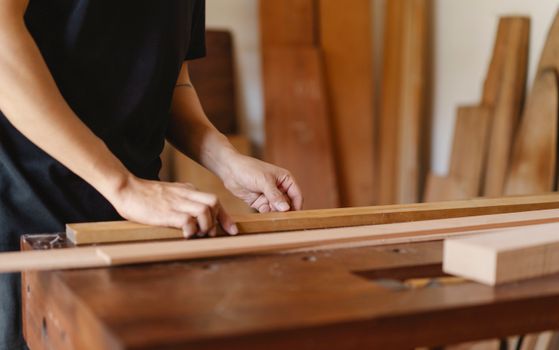
Step 1: Planning Your Bookshelf
Start by determining the dimensions of your bookshelf. A standard bookshelf height is around 6 feet, with a width of 3 to 4 feet. You can adjust these measurements based on your space and needs.
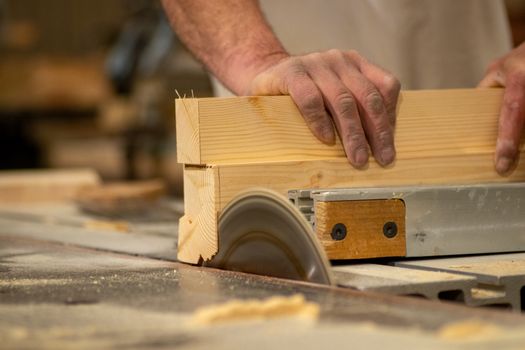
Step 2: Cutting the Wood
Using a table saw or circular saw, cut your wood into the following pieces:
- 2 side panels (6 feet by 1 foot)
- 1 top panel (4 feet by 1 foot)
- 1 bottom panel (4 feet by 1 foot)
- 3 shelves (4 feet by 1 foot)
Step 3: Sanding the Edges
Once your pieces are cut, use sandpaper or a power sander to smooth all edges to avoid splinters and ensure a clean finish.
Step 4: Assembling the Frame
Begin by attaching the top and bottom panels to the side panels using wood screws and wood glue for added strength. Use clamps to hold them in place while the glue dries. Make sure everything is level and square.
Step 5: Installing the Shelves
Decide how many shelves you want and at what height. You can install shelf pins for adjustable shelves or attach them directly using screws. If you choose to use shelf pins, drill holes into the side panels at the desired heights.
Step 6: Finishing Touches
Once assembled, you can choose to paint or stain your bookshelf. This not only enhances the look but also protects the wood. Allow it to dry completely before placing any items on it.
Practical Tips for Woodworking Safety
- Always wear safety goggles and a dust mask while cutting wood.
- Keep your workspace organized to prevent accidents.
- Make sure to follow all safety instructions for your tools.
Frequently Asked Questions
1. What wood types are best for shelves?
Pine is a popular choice due to its affordability and ease of use, while oak and birch offer more durability and a polished finish. Choose based on your budget and aesthetic preferences.
2. Can I customize the design of my bookshelf?
Absolutely! This woodworking bookshelf plans for beginners can be easily modified. Consider adding decorative elements like molding or experimenting with different shelf configurations.
3. Where can I find more woodworking plans?
For more detailed plans and ideas, check out resources like Ted's Woodworking, which offers a wide range of woodworking projects suitable for all skill levels.
Conclusion
Creating your own DIY wooden bookshelf is a rewarding project that enhances your woodworking skills and adds a personal touch to your home. With the step-by-step woodworking instructions provided, you're well on your way to building a beautiful and functional piece of furniture. Remember to plan carefully, follow safety tips, and enjoy the process of crafting something uniquely yours. Happy woodworking!
🔨 Want 16,000+ Woodworking Plans?
Ted's Woodworking gives you instant access to over 16,000 step-by-step plans with detailed blueprints, cut lists, and material lists for every project.
Get Instant Access →