How to Build a DIY Wooden Play Kitchen for Kids
Building a wooden play kitchen for your kids can be a rewarding project that sparks their creativity and imagination. Not only does it provide endless hours of play, but it also allows you to hone your woodworking skills. In this guide, we’ll focus on creating a DIY wooden play kitchen that is budget-friendly, using affordable materials and cost-saving tips.
Why Build a Play Kitchen?
Play kitchens are a fantastic way for children to engage in imaginative play. They mimic real-life cooking scenarios, helping kids develop important skills such as teamwork, problem-solving, and creativity. Plus, a custom-built play kitchen can fit perfectly in your home, combining functionality with a unique design.
Materials Needed
When planning your DIY project, keep in mind that the choice of materials will significantly affect your budget. Here’s a list of affordable materials you’ll need:
- Plywood: A versatile and cost-effective option for the main structure.
- 2x4 lumber: Perfect for the frame and support structures.
- Wood screws: Essential for assembling the pieces.
- Wood glue: Provides extra strength to your joints.
- Paint or wood stain: Non-toxic options are crucial for safety.
- Knobs and handles: You can repurpose old cabinet hardware or find affordable options at hardware stores.
- Faucet and sink (optional): Consider using a small bowl and a spout from a spray bottle for a realistic look.
Tools Required
Here’s what you’ll need to get the job done:
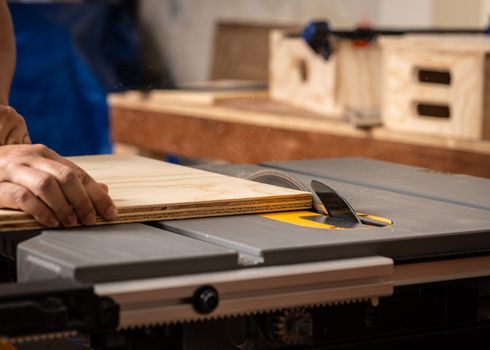
- Table saw or circular saw: For cutting your wood pieces to size.
- Drill: To make holes for screws and knobs.
- Screwdriver: For tightening screws.
- Sandpaper: To smooth out rough edges.
- Paintbrush: For applying paint or stain.
- Measuring tape: To ensure accurate dimensions.
Step-by-Step Instructions
Step 1: Design Your Play Kitchen
Before you start building, sketch a simple design of your play kitchen. Consider elements like a stove, sink, and countertop. A straightforward L-shape design can maximize space while being easy to construct. For detailed plans, you might find resources like Ted Woodworking helpful, as they offer a variety of woodworking plans that can inspire your design.
Step 2: Cut Your Wood
Using your table saw or circular saw, cut the plywood and 2x4 lumber according to your design measurements. Make sure to measure twice and cut once to avoid any mistakes that can lead to wasted materials.
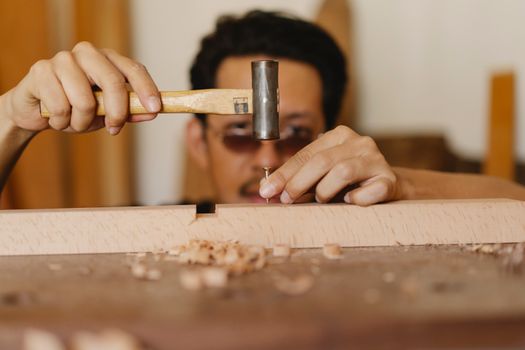
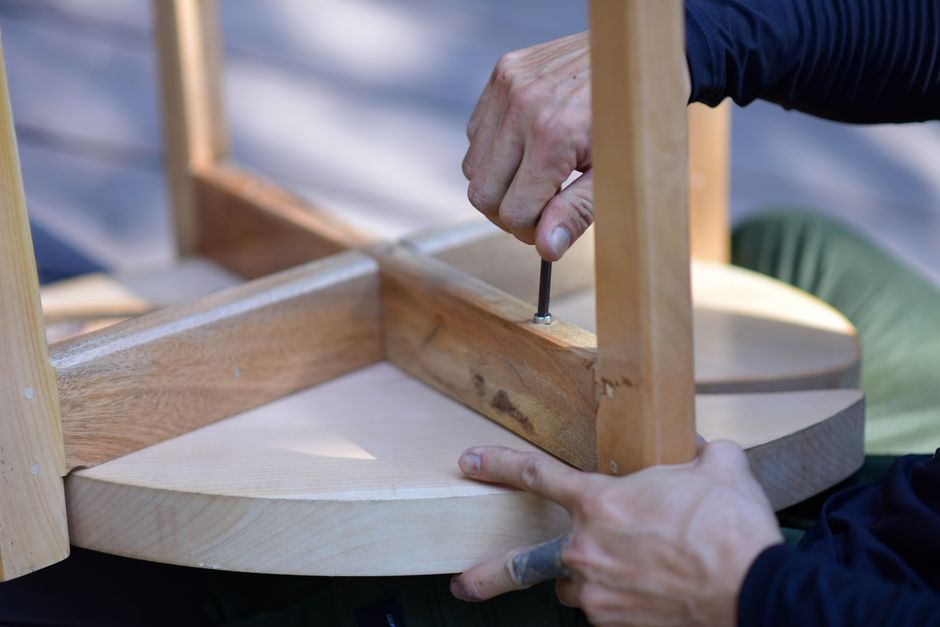
Step 3: Assemble the Frame
Begin by constructing the frame of the kitchen. Use wood screws and glue to secure the 2x4 pieces together, forming a sturdy base. Ensure that the frame is square; this will help in achieving a level surface for your play kitchen.
Step 4: Build the Countertop and Attach the Sides
Attach the plywood pieces to the frame to create the countertop. Sand down any rough edges to prevent splinters. Attach the sides of the kitchen to give it a finished look, and ensure that there are no gaps.
Step 5: Create the Stove and Sink
For the stove, paint circular burner designs on the top of the countertop. You can use small circles of black paper or paint them directly. For the sink, cut a hole in the countertop and place your bowl underneath. Use a spray bottle spout as a faucet, securing it with glue.
Step 6: Add Finishing Touches
Paint or stain your wooden play kitchen with non-toxic products. This is where you can get creative, using fun colors to make the kitchen vibrant. Attach knobs and handles, and consider adding shelves for storage. If you want to go the extra mile, hang a small chalkboard on the side for kids to write their 'menu'!
Cost-Saving Tips
- Use reclaimed wood: Check local classifieds or recycling centers for affordable wood options.
- Repurpose materials: Use old furniture pieces for knobs, handles, or even parts of the structure.
- Shop sales and discounts: Always keep an eye out for sales at your local hardware store to save on materials.
- DIY finishes: Instead of buying expensive finishes, consider making your own with natural ingredients.
Conclusion
Building a DIY wooden play kitchen for your kids is not only a fulfilling project but also a great way to save money while creating a unique piece of furniture that they will cherish. With careful planning and the right materials, you can craft a beautiful play kitchen that sparks joy and creativity in your children.
FAQ
- What is the best age for kids to use a play kitchen? Most kids enjoy play kitchens from ages 2 to 8, but it can vary based on interest.
- How much does it cost to build a DIY play kitchen? Depending on materials, you can build one for as low as $50 to $150.
- Can I customize the design? Absolutely! Feel free to adjust the design to fit your space and your child's preferences.
📚 Related Articles
🔨 Want 16,000+ Woodworking Plans?
Get instant access to step-by-step plans with blueprints and cut lists.
Get Instant Access →