Introduction
Making precision cuts is essential in woodworking, especially when building furniture. A miter saw is one of the best tools to achieve accurate cuts quickly and efficiently. In this beginner-friendly guide, we will walk you through the basics of using a miter saw to ensure your cuts are precise and clean.
What is a Miter Saw?
A miter saw is a powerful tool specifically designed for making crosscuts and miter cuts in wood. It features a circular saw blade mounted on a swing arm that pivots left or right, allowing for angled cuts. This versatility makes it ideal for various woodworking projects, including furniture building.
Essential Tools for the Job
Before diving into the cutting process, it's important to have the right tools on hand. Here is a list of essentials:
- Miter Saw: Choose a quality miter saw that suits your needs.
- Measuring Tape: Accurate measurements are crucial for precise cuts.
- Square: A carpenter's square helps ensure your cuts are straight and true.
- Pencil: Mark your measurements clearly on the wood.
- Safety Gear: Always wear safety glasses and hearing protection.
Step-by-Step Guide to Making Precision Cuts
Step 1: Set Up Your Workspace
Choose a flat, sturdy surface to set up your miter saw. Make sure there is enough space around the saw for wood pieces to lie flat.
Step 2: Measure and Mark the Wood
Use your measuring tape to determine the length of the wood you need to cut. Mark the cut line with a pencil, ensuring it is clear and visible. Use a square to ensure that your mark is straight and true.
Step 3: Adjust the Miter Saw
Depending on the type of cut you need (crosscut or miter cut), adjust the angle of the miter saw. For standard crosscuts, keep the saw at 0 degrees. For angled cuts, adjust the saw to the desired angle, which can be easily set on the miter saw’s scale.
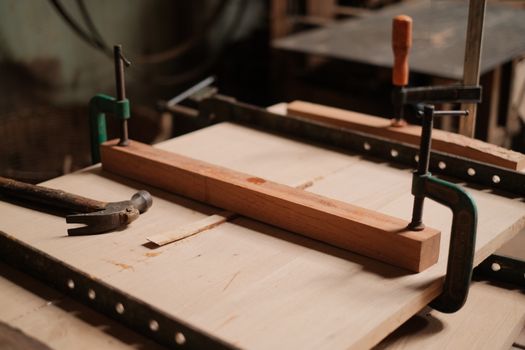
Step 4: Secure the Wood
Place the wood securely against the fence of the miter saw. If your piece is small or unstable, consider using clamps to hold it in place. This ensures that the wood does not move during the cut, which could lead to inaccuracies.
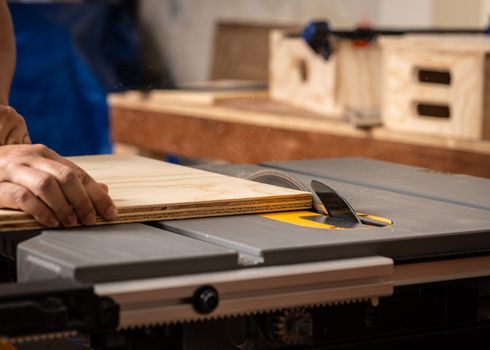
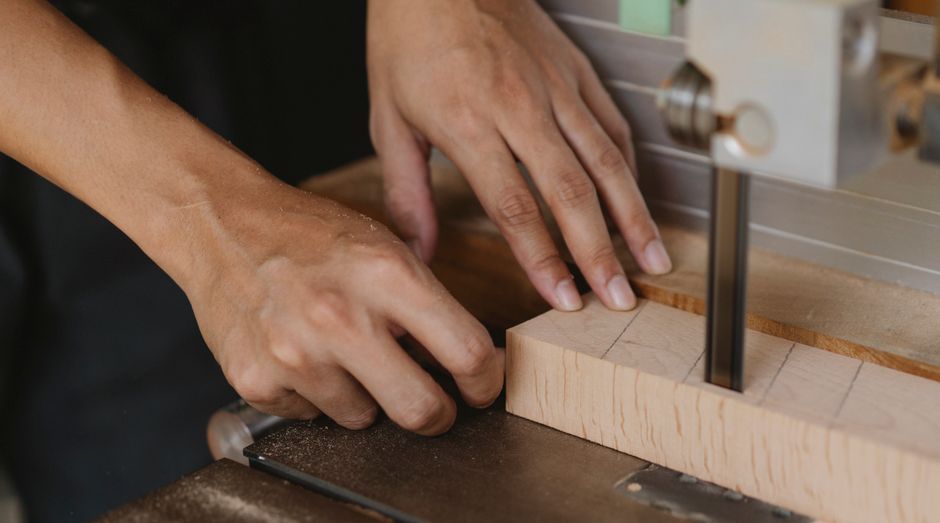
Step 5: Make the Cut
Before making the cut, double-check your measurements and the position of the wood. Stand to the side of the saw and ensure your hands are clear of the cutting area. Press down on the handle to lower the blade smoothly and evenly through the wood. Allow the blade to come to a complete stop before lifting it back up.
Step 6: Inspect the Cut
Once the cut is made, inspect it for accuracy. The edges should be clean and straight. If adjustments are needed, make sure to recalibrate the saw and repeat the process as necessary.
Tips for Achieving Precision Cuts
- Take Your Time: Rushing can lead to mistakes. Take your time to measure and mark accurately.
- Practice: If you're new to using a miter saw, practice on scrap pieces of wood before moving on to your actual project.
- Use Quality Blades: A sharp, high-quality blade will produce cleaner cuts and reduce the risk of splintering.
- Consult Plans: If you're unsure how to proceed with a project, consider resources like Ted Woodworking for detailed plans and guidance.
Conclusion
Using a miter saw can greatly enhance your woodworking capabilities, allowing you to make precise cuts that will elevate your furniture building projects. By following the steps outlined in this guide and practicing your technique, you'll gain confidence in using this powerful tool. Remember to prioritize safety and take your time to ensure accuracy.
FAQ
1. What is the difference between a miter saw and a circular saw?
A miter saw is designed for making precise crosscuts and miter cuts with ease, while a circular saw is more versatile and can be used for a variety of cuts, including rip cuts.
2. How do I know if my miter saw is properly calibrated?
To check calibration, make a test cut on a scrap piece of wood and measure the angle with a square. If it doesn't match, adjust the saw according to the manufacturer's instructions.
3. Can I use a miter saw for cutting other materials besides wood?
Some miter saws can cut other materials like plastic or aluminum, but it's essential to check the manufacturer's specifications and use the correct blade for those materials.
📚 Related Articles
🔨 Want 16,000+ Woodworking Plans?
Get instant access to step-by-step plans with blueprints and cut lists.
Get Instant Access →