Introduction
Are you tired of the chaos in your closet? A wooden closet organizer can be the perfect solution to transform your cluttered space into an organized haven. In this guide, we will provide you with step-by-step wooden closet plans that will help you create a functional and appealing storage system. Not only is this a great DIY home improvement project, but it also adds a touch of elegance to your interiors. Let’s dive into how to build a wooden closet organizer that suits your needs!
Step-by-Step Guide: How to Build a Wooden Closet Organizer
Building a wooden closet organizer can be a rewarding experience. Follow these easy DIY closet storage solutions to create a customized closet system:
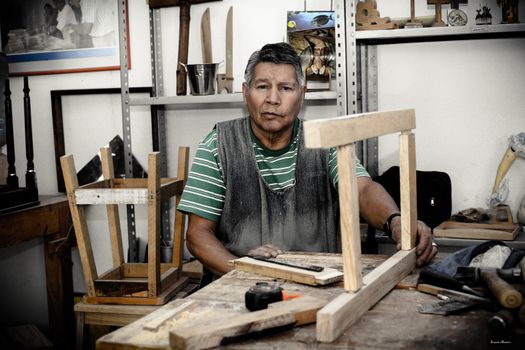
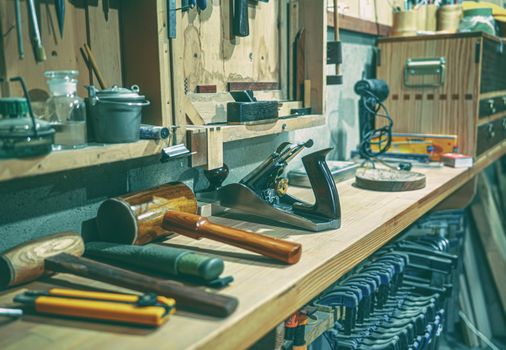
1. Gather Your Materials
- Wood Type: Choose durable wood such as plywood, MDF, or solid wood. These materials are among the best materials for closet organizers.
- Tools Needed: You will need a saw, drill, measuring tape, level, and screws.
- Finishing Supplies: Sandpaper, wood stain or paint, and a sealer for a polished look.
2. Measure Your Closet Space
Before you begin, measure your closet dimensions to ensure your organizer fits perfectly. Consider the height, width, and depth of your closet. This will help in creating customizable closet organizer plans that maximize your space.
3. Design Your Organizer
Sketch out your design on paper. Incorporate shelves, hanging rods, and drawers based on your storage needs. Look for shelf plans and organization tips online to inspire your design. You can also check resources like Ted’s Woodworking for detailed plans.
4. Cut the Wood
Using the measurements and design, cut your wood pieces according to your plans. Make sure to wear safety gear while using power tools.
5. Assemble the Organizer
Start by assembling the frame. Use a level to ensure everything is straight. Attach the shelves and rods according to your design. Don’t forget to reinforce with screws for stability.
6. Sand and Finish
Once assembled, smooth out any rough edges with sandpaper. Apply your chosen wood stain or paint to enhance the look. Finish with a sealer for durability.
Practical Tips for Your Wooden Closet Organizer
- Maximize Vertical Space: Use the full height of your closet with tall shelves.
- Adjustable Shelves: Consider making some shelves adjustable for flexibility.
- Use Baskets and Bins: Incorporate decorative baskets for smaller items to keep everything tidy.
- Label Everything: Use labels for easy identification of contents.
FAQ
1. What are the benefits of a wooden closet organizer?
A wooden closet organizer provides durability, aesthetic appeal, and customized storage solutions that can adapt to your specific needs.
2. How can I make my closet organizer more affordable?
Consider using reclaimed wood or purchasing discounted materials from local suppliers to keep costs down. Additionally, building it yourself saves on labor costs.
3. Can I customize my closet organizer design?
Absolutely! One of the best aspects of DIY projects is the ability to tailor your design to fit your personal style and storage requirements.
Conclusion
Creating a wooden closet organizer is a rewarding woodworking project that enhances your home’s organization and style. With these easy-to-follow plans and practical tips, you can craft a beautiful and functional closet system that meets all your storage needs. Remember, the key to effective organization lies in thoughtful design and utilizing the right materials. Start your DIY journey today and enjoy a clutter-free space!
🔨 Want 16,000+ Woodworking Plans?
Ted's Woodworking gives you instant access to over 16,000 step-by-step plans with detailed blueprints, cut lists, and material lists for every project.
Get Instant Access →