How to Build a Simple DIY Wood Storage Bin in One Weekend
Are you tired of clutter in your garage, shed, or workshop? A wood storage bin is a perfect solution to organize your space while adding a touch of rustic charm. In this article, I will guide you through the process of building a simple DIY wood storage bin over a weekend. With the right tools, materials, and a bit of elbow grease, you can create a functional piece that will serve you for years.
Tools and Materials Needed
Before we get into the construction, let's discuss the tools and materials you will need for this project. Each tool has its pros and cons, which we will evaluate to help you make informed choices.
Essential Tools
- Circular Saw
The circular saw is a versatile tool that makes quick work of cutting boards to length.- Pros: Portable, easy to use, and ideal for straight cuts.
- Cons: Requires practice to achieve perfect cuts.
- Power Drill
A power drill is essential for making pilot holes and driving screws.- Pros: Fast and efficient, versatile (can use various bits).
- Cons: Can be heavy and tiring to use for extended periods.
- Measuring Tape
Accuracy is key in woodworking, and a measuring tape helps ensure your dimensions are spot on.- Pros: Compact, easy to read, and inexpensive.
- Cons: Can be tricky to use alone for long pieces.
- Square
A square is essential for marking and ensuring your cuts are straight and angles are accurate.- Pros: Ensures accuracy, durable, and easy to handle.
- Cons: Limited to measuring right angles.
- Sander
A sander will help smooth the surfaces and edges of your wood, giving it a polished look.- Pros: Saves time and effort compared to hand sanding.
- Cons: Can be noisy and create a lot of dust.
Materials
- Wood Boards: Choose a durable wood such as pine or plywood for your bin. A standard size for a storage bin is 4' x 2' x 2'.
- Screws: Use wood screws that are at least 1.5" long for sturdy assembly.
- Wood Glue: This will add extra strength to your joints.
- Wood Finish or Paint: Protect your bin from moisture and give it a finished look.
Step-by-Step Instructions
Now that you have your tools and materials, let’s dive into the step-by-step process of building your wood storage bin.
Step 1: Cut Your Wood
Using your circular saw, cut the wood boards according to the following dimensions:
- 4 pieces at 4 feet (long sides)
- 4 pieces at 2 feet (short sides)
- 1 piece at 4 x 2 feet (bottom)
Always double-check your measurements before cutting!
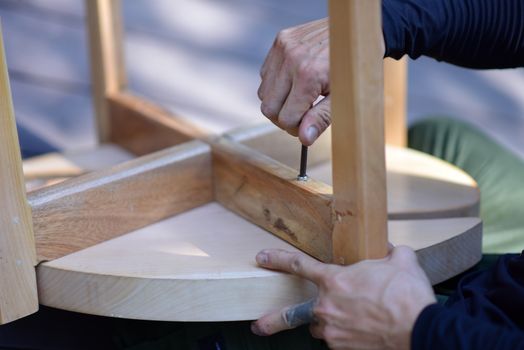
Step 2: Assemble the Frame
Start by assembling the frame of the storage bin. Attach the long sides to the short sides using wood screws. Pre-drill holes to prevent the wood from splitting. Apply wood glue to the joints for added strength.
Step 3: Attach the Bottom
Once the frame is assembled, lay the bottom piece inside the frame and secure it with screws. Ensure everything is square using your square tool.
Step 4: Sand and Finish
Use your sander to smooth out any rough edges and surfaces. Once satisfied, apply your chosen wood finish or paint. Allow it to dry completely before use.
Step 5: Optional Lid
If you prefer, you can also create a lid for your storage bin. Simply cut another piece of wood to fit the top and attach it with hinges for easy access.
Final Thoughts
Building a simple DIY wood storage bin is a rewarding project that can be completed in a weekend. With the right tools and a little bit of patience, you’ll have a beautiful and functional storage solution. For detailed plans and inspiration, consider checking out Ted Woodworking, a comprehensive resource for woodworking plans that can help you tackle this project and more.
FAQs
1. How long will it take to build the storage bin?
With the right tools and materials, you can complete this project in a weekend, typically in 5-10 hours depending on your skill level and familiarity with the tools.
2. Can I customize the size of the storage bin?
Absolutely! You can adjust the dimensions based on your storage needs. Just remember to maintain the proportions for stability.
3. What type of wood is best for outdoor storage bins?
Cedar and pressure-treated lumber are excellent choices for outdoor use as they resist moisture and pests better than other wood types.
📚 Related Articles
🔨 Want 16,000+ Woodworking Plans?
Get instant access to step-by-step plans with blueprints and cut lists.
Get Instant Access →