Introduction
Building sturdy wooden steps for your garden pathway can enhance both accessibility and aesthetics. Whether you're creating a rustic look or a modern design, well-constructed steps can lead guests safely through your outdoor space. In this article, we’ll cover the tools you need, step-by-step instructions, and helpful resources like Ted Woodworking for plans and designs.
Tools You Will Need
Before diving into the construction process, let’s review the essential tools you’ll need to build sturdy wooden steps, along with their pros and cons.
1. Circular Saw
- Pros: Versatile and efficient for cutting wood quickly. Ideal for making straight cuts on larger panels.
- Cons: Requires some skill to use effectively; safety precautions are necessary to prevent kickback.
2. Measuring Tape
- Pros: Accurate measurements are crucial in ensuring your steps fit well and are safe. Easy to use and portable.
- Cons: Can be cumbersome if the tape is too long or not retracting properly.
3. Level
- Pros: Ensures that your steps are perfectly horizontal and safe to use. Simple to operate.
- Cons: May be less effective on uneven ground without additional adjustments.
4. Drill
- Pros: Essential for creating pilot holes and driving screws. Cordless models offer great mobility.
- Cons: Battery-powered drills may run out of charge during extended use; corded models limit movement.
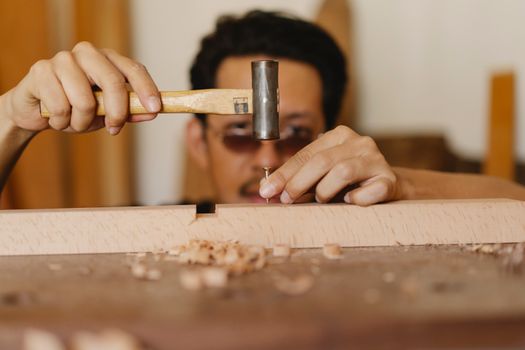
5. Hammer and Nails
- Pros: An age-old tool for woodworking; easy to use for quick repairs and securing wood.
- Cons: Requires more effort and may not be as durable as screws in certain applications.
6. Wood Glue
- Pros: Provides additional strength to joints; can be used in conjunction with nails or screws for better durability.
- Cons: Requires drying time, which can slow down the overall project.
7. Safety Gear
- Pros: Protects you from potential injuries. Includes safety glasses, gloves, and ear protection.
- Cons: Can be uncomfortable if worn for long periods, but safety should always be prioritized.
Steps to Build Wooden Steps
Now that you have your tools ready, let’s get into the process of building your wooden steps.
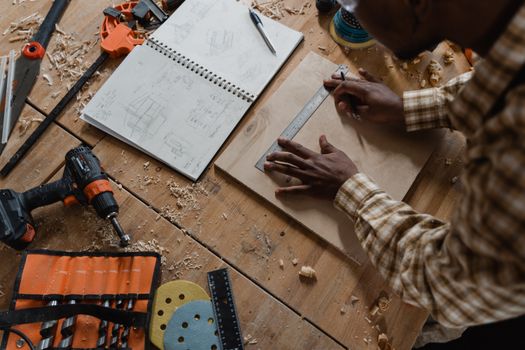
Step 1: Planning Your Design
Before you start building, sketch out your design. Consider the height of the steps, the width, and the number of steps you will need. Resources like Ted Woodworking can provide detailed plans and ideas to guide your design process.
Step 2: Measuring and Cutting the Wood
Using your measuring tape, determine the dimensions of your steps. Cut the wood using your circular saw, ensuring to measure twice to avoid mistakes.
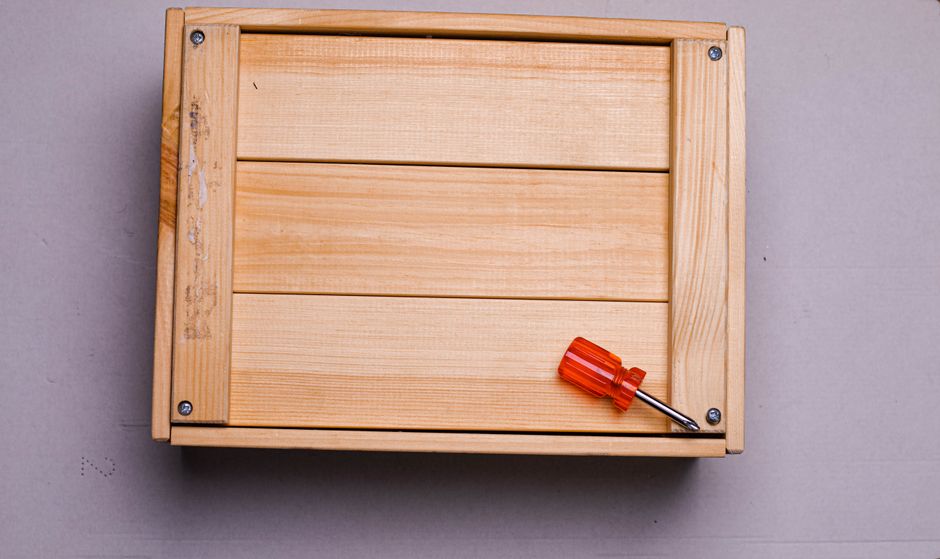
Step 3: Assembling the Frame
Construct a frame that will support the steps. Use your drill to create pilot holes and secure the frame using screws or nails. Make sure the frame is level before moving on.
Step 4: Attaching the Treads
Cut the treads (the flat parts of the steps) and attach them to the frame using screws. Ensure they are spaced evenly and securely fastened.
Step 5: Finishing Touches
Sand down any rough edges for a smooth finish. You may choose to stain or paint your steps to match your garden theme. Allow sufficient drying time if you apply a finish.
Maintenance Tips
To keep your wooden steps in good condition, consider the following maintenance tips:
- Check for loose screws or nails periodically and tighten them as needed.
- Clean the steps regularly to prevent the buildup of dirt and mildew.
- Reapply sealant or stain every few years to protect the wood from weathering.
Conclusion
Building sturdy wooden steps for your garden pathway not only enhances accessibility but also adds character to your outdoor space. Equipped with the right tools and a solid plan, you can create beautiful and functional steps that will last for years. Don't forget to check out Ted Woodworking for comprehensive plans and ideas to inspire your next project!
FAQ
1. What type of wood is best for outdoor steps?
Pressure-treated wood, cedar, or redwood are excellent choices for outdoor steps due to their resistance to rot and insects.
2. How do I ensure my steps are safe?
Make sure your steps are level, have a non-slip surface, and are securely fastened. Regular maintenance checks can also enhance safety.
3. Can I build wooden steps on uneven ground?
Yes, but you may need to build a solid foundation or use additional materials like gravel to create a level base.
📚 Related Articles
🔨 Want 16,000+ Woodworking Plans?
Get instant access to step-by-step plans with blueprints and cut lists.
Get Instant Access →