Introduction
The beauty of woodworking lies in its ability to transform your living space with functional and aesthetically pleasing pieces. Among the various projects you can undertake, building custom wood shelves stands out as a perfect blend of simplicity and utility. With basic tools and a little creativity, you can create stylish, personalized storage solutions without breaking the bank.
Why Choose Custom Wood Shelves?
Custom wood shelves offer several advantages:
- Tailored Design: You can design shelves that fit your specific space and needs.
- Quality Materials: Selecting your wood allows you to choose durable, affordable options.
- Budget-Friendly: Building your shelves can be significantly cheaper than buying pre-made ones.
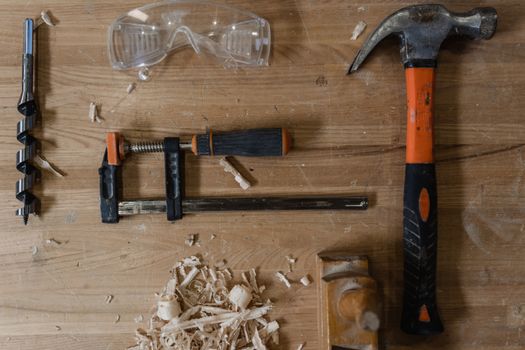
Tools You'll Need
One of the best things about building custom shelves is that you don't need an extensive toolkit. Here’s a list of basic tools you’ll need:
- Measuring Tape: To ensure accurate dimensions.
- Level: To keep your shelves straight.
- Hand Saw or Circular Saw: For cutting wood to size.
- Drill: For making holes and driving screws.
- Screwdriver: To tighten screws.
- Sandpaper: For smoothing edges.
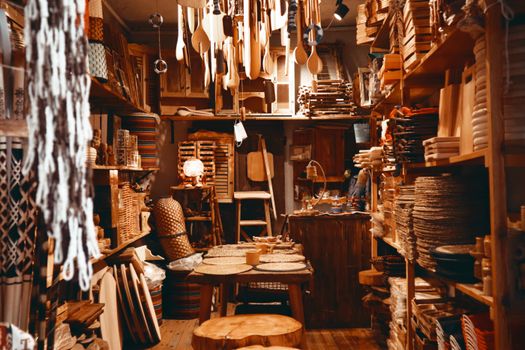
Materials to Consider
When building your shelves, the choice of materials is crucial for both aesthetics and durability. Here are some budget-friendly options:
- Pine: Affordable and easy to work with, pine is a great choice for beginners.
- Plywood: Versatile and strong, plywood can be used for various shelf designs.
- Reclaimed Wood: Not only is it cost-effective, but it also adds character to your shelves.
Step-by-Step Guide to Building Custom Wood Shelves
Step 1: Planning and Measuring
Before you start cutting wood, take some time to plan your project:
- Determine where you want to install the shelves.
- Decide on the size of each shelf, considering what you plan to store.
- Sketch a design that reflects your style.
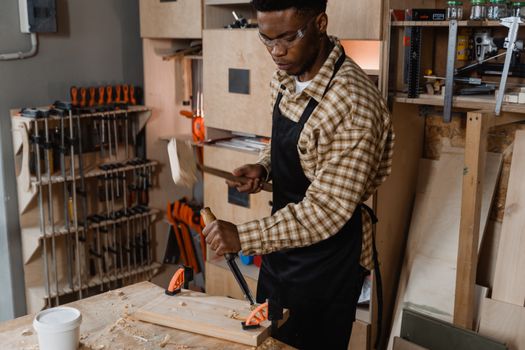
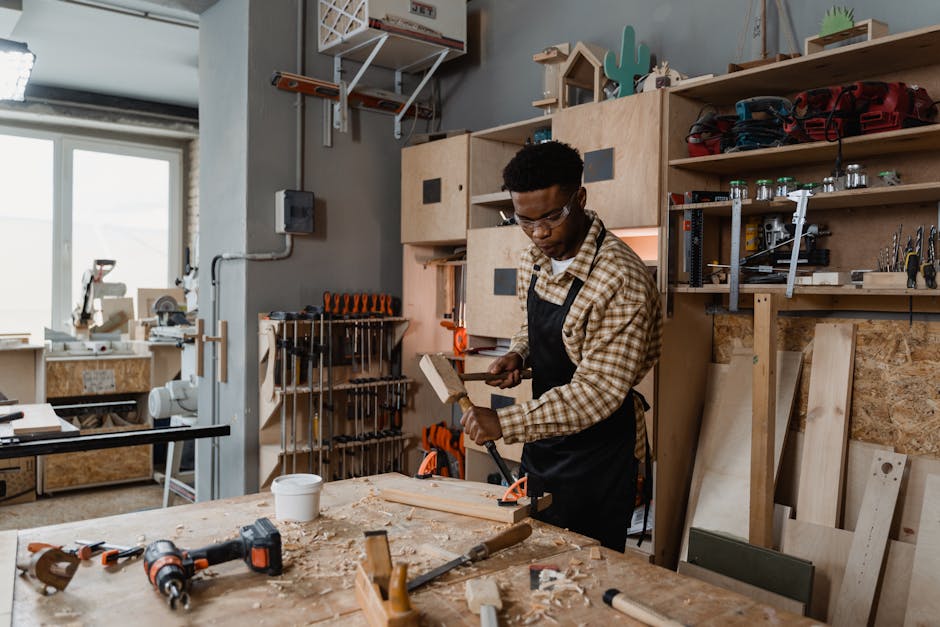
Step 2: Cutting the Wood
Using your measurements, cut the wood to the desired lengths. If you're using a hand saw, make sure to cut slowly and steadily for clean edges. If you have a circular saw, follow safety precautions and use a straight edge as a guide.
Step 3: Sanding the Edges
After cutting, it’s time to smooth out the edges. Use sandpaper to avoid any splinters and to prepare the wood for finishing.
Step 4: Assembling the Shelves
Now that your wood pieces are ready, it’s time to assemble your shelves:
- Lay out the wood pieces according to your design.
- Drill holes for screws, making sure they are evenly spaced.
- Secure the pieces together using screws.
Step 5: Installing the Shelves
Once your shelves are assembled, it's time to install them:
- Use a level to mark where the brackets will go on the wall.
- Drill holes into the wall and insert wall anchors if necessary.
- Attach brackets and secure the shelves in place.
Step 6: Finishing Touches
Consider adding a finish to protect the wood and enhance its appearance. You can use:
- Stain: For a rich, warm color.
- Paint: To match your decor.
- Clear Sealant: To maintain the natural look of the wood.
Cost-Saving Tips
Building custom shelves doesn't have to be an expensive endeavor. Here are some tips to save money:
- Buy Materials in Bulk: Purchase wood in larger quantities to reduce the price per board.
- Use Discount Stores: Check local hardware stores or online marketplaces for sales.
- DIY Finishing: Avoid hiring professionals by staining or painting the shelves yourself.
Using Resources Like Ted Woodworking
If you’re looking for inspiration or detailed plans, consider checking out Ted Woodworking. This resource offers a wide array of woodworking plans that can guide you through building everything from simple shelves to complex furniture pieces. With easy-to-follow instructions, you can save both time and money while honing your woodworking skills.
Conclusion
Creating custom wood shelves with basic tools is not only possible but also a rewarding DIY project. With careful planning, attention to detail, and a bit of creativity, you can design and build shelves that perfectly fit your space and style. Plus, by choosing affordable materials and utilizing budget-friendly tips, you can achieve a professional look without spending a fortune.
FAQ
1. What type of wood is best for shelves?
Pine and plywood are excellent choices for budget-friendly shelves due to their affordability and ease of use. Reclaimed wood can also add character if you're looking for something unique.
2. How do I ensure my shelves are level?
Using a level during installation is crucial. Make sure to check each shelf with a level before securing it to the wall to ensure it is straight.
3. Can I customize the size of my shelves?
Absolutely! You can customize the dimensions of your shelves based on your space and storage needs. Just remember to measure carefully before cutting.
📚 Related Articles
🔨 Want 16,000+ Woodworking Plans?
Get instant access to step-by-step plans with blueprints and cut lists.
Get Instant Access →