How to Create a DIY Wooden Planter Box in 5 Easy Steps
If you are looking to add some greenery to your home or garden, creating a DIY wooden planter box is a fantastic project for beginners. Not only is it a simple and rewarding task, but it also allows you to customize the size and style of the planter to fit your needs. In this guide, we will walk you through five easy steps to build your very own wooden planter box.
Materials Needed
- 1x6-inch or 1x8-inch untreated cedar or pine boards
- Wood screws (1.25-inch)
- Wood glue
- Drill with drill bits
- Saw (hand saw or power saw)
- Sandpaper (medium and fine grit)
- Measuring tape
- Square
- Pencil
- Optional: Wood stain or sealant
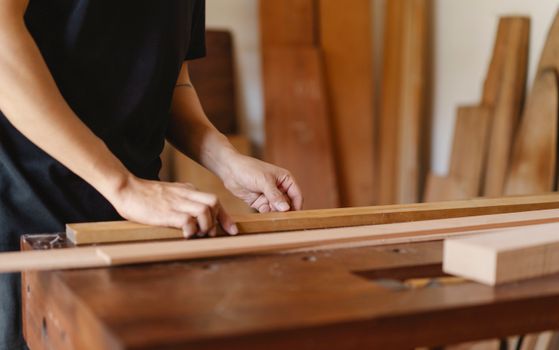
Step 1: Measure and Cut the Wood
Start by determining the size of your planter box. A common size for a rectangular planter is 36 inches long, 12 inches wide, and 12 inches deep. Using your measuring tape, mark the following pieces on the wood boards:
- 2 pieces at 36 inches (long sides)
- 2 pieces at 12 inches (short sides)
- 1 piece at 36 inches (bottom)
- Optional: Additional pieces for drainage (if desired)
Once marked, use your saw to cut the wood according to your measurements. Make sure to cut straight and follow safety measures while using power tools.
Step 2: Assemble the Sides
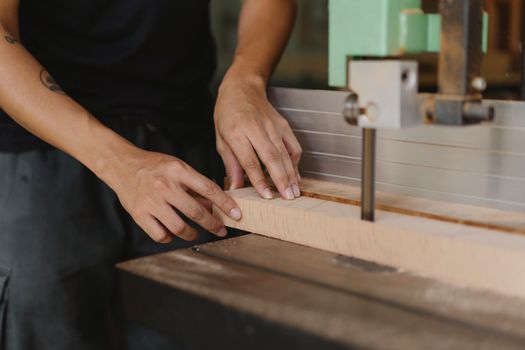
To assemble the planter box, start with the long sides. Take one of the 36-inch pieces and lay it flat on your work surface. Apply a bead of wood glue along one edge of the board. Position one of the 12-inch pieces perpendicular to the long side, ensuring the edges are flush. Use your square to check that the corner is a right angle.
Secure the joint with wood screws. Drill two screws into each corner for stability. Repeat this process for the opposite side, creating a rectangle.
Step 3: Attach the Bottom
With the sides assembled, it’s time to attach the bottom of the planter box. Lay the rectangular frame on the ground with the open side facing up. Position the 36-inch bottom piece inside the frame. Make sure that it is centered and has equal spacing on all sides. Again, secure this piece with wood glue and screws, drilling at intervals to ensure it is well-attached.
Step 4: Sand and Finish
Once the planter box is fully assembled, it’s time to smooth the surfaces. Use medium-grit sandpaper to sand all the edges and corners, followed by fine-grit sandpaper to finish. This will help prevent splinters and give your planter a polished look.
If you wish to enhance the appearance of your planter, consider applying wood stain or sealant at this point. This will protect the wood from moisture and give it a beautiful finish. Be sure to allow adequate drying time according to the product instructions.
Step 5: Add Drainage Holes and Fill with Soil
To ensure that your plants thrive, it is crucial to have proper drainage. Use your drill to create several holes in the bottom of the planter box. Space them evenly to allow excess water to escape.
Once the holes are drilled, fill the planter with potting soil, leaving enough space at the top for your plants. Now it’s time to add your favorite plants or flowers, and enjoy your new DIY planter box!
Where to Find Plans
If you are looking for more detailed plans or additional projects, consider checking out Ted Woodworking. This resource offers a wide range of woodworking plans that can help you expand your skills and tackle more advanced projects.
Conclusion
Building a wooden planter box is a simple and enjoyable project that adds beauty to your home and garden. By following these five easy steps, you can create a functional and attractive planter that showcases your plants beautifully. With just a few materials and basic tools, you can embark on your woodworking journey and enjoy the fruits of your labor.
FAQ
- Can I use treated lumber for my planter box?
It is best to avoid treated lumber for planters, as the chemicals can leach into the soil. Untreated cedar or pine is a safer choice. - How do I maintain my wooden planter box?
Regularly check for signs of wear or rot. If using outdoors, consider applying a wood sealant every few years to extend the life of the wood. - What plants are best for a wooden planter box?
Herbs, flowers, and small vegetables are great options. Just ensure that the plants you choose are suitable for the climate and sunlight conditions of your location.
📚 Related Articles
🔨 Want 16,000+ Woodworking Plans?
Get instant access to step-by-step plans with blueprints and cut lists.
Get Instant Access →