Introduction
Are you looking for a unique and charming toy to make for your little ones? A DIY wooden rocking horse is not only a delightful addition to any child's playtime but also a fantastic woodworking project. This timeless toy encourages imaginative play and provides hours of entertainment. In this article, we’ll guide you through the process of building a wooden rocking horse with our comprehensive step-by-step rocking horse plans that are perfect for crafters of all skill levels.
Step-by-Step Guide: How to Build a Wooden Rocking Horse
Building a wooden rocking horse can be a fulfilling experience. Here’s a detailed rocking horse tutorial to help you create a beautiful children's rocking horse.
Materials Needed
- Wood (Pine or Birch is recommended)
- Screws and wood glue
- Sandpaper (various grits)
- Wood finish or paint (non-toxic)
- Tools: saw, drill, sander, measuring tape, and clamps
Step 1: Choose Your Design
Start by selecting a simple rocking horse design. You can find free wooden rocking horse plans online or use your creativity to sketch a unique design. Ensure that the design is age-appropriate, particularly if you are crafting a DIY rocking horse for toddlers.
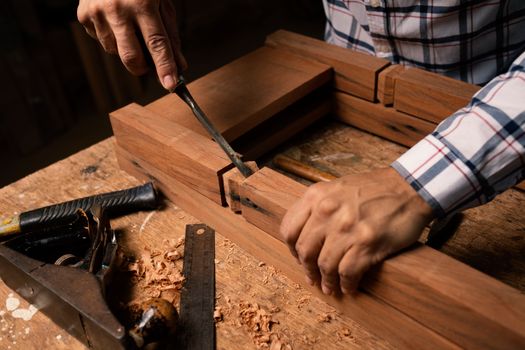
Step 2: Cut the Wood
Using your plans, cut the wood pieces according to the specifications. Standard parts include:
- Body
- Head and tail
- Rockers
- Legs
Make sure to measure twice and cut once for accuracy!
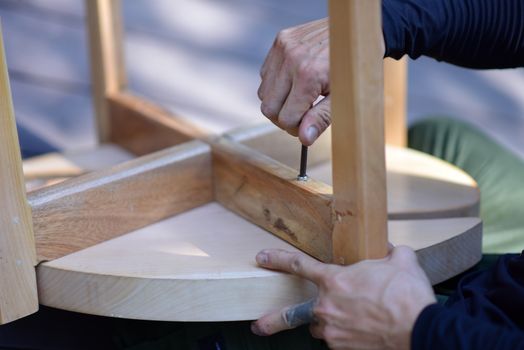
Step 3: Assemble the Rocking Horse
Begin assembling the body of the horse. Use wood glue and screws to secure the joints. Attach the legs and rockers, ensuring that they are evenly aligned to prevent tipping.
Step 4: Sanding and Finishing
Once the horse is assembled, sand all edges thoroughly to prevent splinters. This step is crucial for safety, especially for young children.
After sanding, apply a non-toxic wood finish or paint. This not only enhances the appearance but also protects the wood.
Step 5: Final Touches
Add details like a mane or saddle using fabric or additional wood pieces. You can also personalize the horse with your child's name or favorite colors!
Practical Tips for Crafting a Rocking Horse
- Safety First: Always ensure the materials are safe for children.
- Use Quality Wood: Opt for durable, non-toxic wood to enhance longevity.
- Involve Your Kids: Let your children help with painting or decorating to create a cherished family project.
- Check for Stability: Test the balance and sturdiness of the rocking horse before allowing your child to play on it.
FAQs
1. What age is suitable for a wooden rocking horse?
A wooden rocking horse is typically suitable for children aged 2-5 years, but always check the specific design for age recommendations.
2. Can I find free plans for building a rocking horse?
Yes, there are many resources online, including websites like Ted's Woodworking, where you can find free wooden rocking horse plans.
3. What type of wood is best for making a rocking horse?
Pine and birch are excellent choices for making a DIY wooden rocking horse due to their durability and ease of cutting.
Conclusion
Creating a DIY wooden rocking horse is not only a rewarding project but also a wonderful way to make a cherished toy for your child. With easy woodworking projects like this, you can instill a love for craftsmanship in your kids while providing them with a beautiful toy they can enjoy for years to come. So grab your tools, follow our step by step rocking horse plans, and start crafting today!
🔨 Want 16,000+ Woodworking Plans?
Ted's Woodworking gives you instant access to over 16,000 step-by-step plans with detailed blueprints, cut lists, and material lists for every project.
Get Instant Access →