DIY Wooden TV Stand Plans: A Step-by-Step Guide for Your Home Decor
If you're looking to elevate your home decor while adding functionality, a DIY wooden TV stand is a fantastic project for furniture building enthusiasts. Not only can you customize it to fit your space, but you'll also enjoy the satisfaction of creating something unique. In this article, we'll explore how to build a wooden TV stand, complete with storage solutions, and provide you with easy TV stand plans for beginners.
Why Build Your Own Wooden TV Stand?
Building your own TV stand allows you to tailor it to your style and needs. Whether you prefer a rustic finish or a sleek modern design, woodworking DIY projects let you express your creativity. Plus, you can incorporate wood joinery techniques for a sturdy construction that will last for years.
Step-by-Step Guide: How to Build a Wooden TV Stand
Ready to get started? Follow these steps to create a beautiful and functional DIY wooden TV stand with storage.
Materials Needed
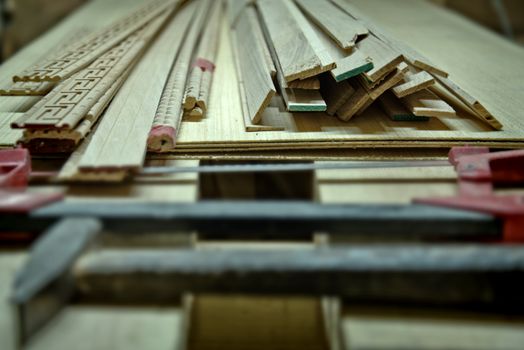
- Wood boards (Pine, Oak, or your preferred type)
- Wood screws
- Wood glue
- Saw (circular or miter saw)
- Drill
- Sandpaper
- Wood finish or paint
Tools Required
- Measuring tape
- Square
- Clamps
- Paintbrush (if finishing)
Step 1: Planning and Measurement
Before you start cutting, it's essential to measure your TV and the space where the stand will go. This will help you determine the height, width, and depth of your stand. Use these measurements to create a simple sketch or blueprint that includes shelf plans and cabinet dimensions as needed.
Step 2: Cutting the Wood
Using your saw, cut the wood to the dimensions outlined in your plans. Typical dimensions for a TV stand are about 48 to 60 inches wide, 24 inches high, and 16 to 20 inches deep. Make sure to cut pieces for the top, bottom, sides, and shelves.
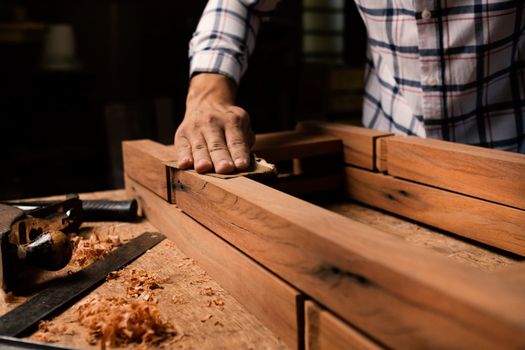
Step 3: Assembling the Frame
Start by assembling the frame of your wooden TV stand. Use wood joinery techniques to secure the corners, such as pocket holes or dowels. Apply wood glue for added strength and clamp the pieces together while the glue dries.
Step 4: Adding Shelves and Cabinets
Decide where you want to place your shelves and cabinets. Cut additional pieces of wood for shelves and use brackets or dado cuts to support them. If you're including cabinets, make sure to create doors that match the rest of your design.
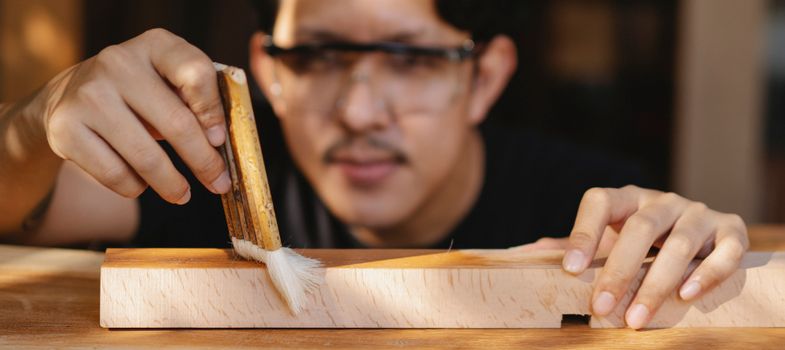
Step 5: Sanding and Finishing
Once your stand is assembled, it’s time to sand the surfaces smooth. Start with coarse sandpaper and progress to finer grits. After sanding, apply your chosen wood finish or paint for a polished look.
Step 6: Final Assembly and Placement
After the finish has dried, you can complete any final assembly, such as attaching doors or drawer fronts. Finally, move your DIY wooden TV stand into place and set your TV on top!
Practical Tips for Your DIY Wooden TV Stand
- Measure Twice: Always double-check your measurements before cutting to avoid mistakes.
- Choose Quality Wood: Opt for high-quality wood to ensure durability and a great finish.
- Consider Storage Solutions: Incorporate drawers or cabinets for a cleaner look and to hide electronics.
- Consult Resources: If you’re unsure about any step, look for tutorials or plans from trusted sources like Ted's Woodworking.
Frequently Asked Questions
1. What is the best type of wood to use for a DIY TV stand?
Pine is a popular choice for DIY projects due to its affordability and ease of work. However, hardwoods like oak or maple provide a more durable and elegant finish.
2. How long does it take to build a wooden TV stand?
The time required can vary based on your skill level and the complexity of your design. On average, expect to spend anywhere from 5 to 10 hours, including planning, cutting, assembly, and finishing.
3. Can I customize the design of my TV stand?
Absolutely! One of the best things about woodworking DIY projects is the ability to customize your design to fit your style and needs. You can adjust dimensions, add features, or change the finish as desired.
Conclusion
Building a DIY wooden TV stand can be a rewarding project that enhances your home decor while providing essential storage solutions. With our step-by-step wooden TV stand guide, you can embark on this woodworking DIY adventure with confidence. Remember to take your time, enjoy the process, and don’t hesitate to consult resources like Ted's Woodworking for additional inspiration and detailed plans. Happy building!
🔨 Want 16,000+ Woodworking Plans?
Ted's Woodworking gives you instant access to over 16,000 step-by-step plans with detailed blueprints, cut lists, and material lists for every project.
Get Instant Access →