Introduction
Creating a DIY wood crate storage system is a practical and stylish way to organize your home. Whether you need extra storage for toys, books, or craft supplies, wooden crates provide a rustic charm and versatility. In this article, we’ll guide you through the process of building your own crate storage system, highlight common mistakes to avoid, and offer troubleshooting tips along the way.
Materials and Tools Needed
- 1x lumber (common sizes: 1x6, 1x8)
- Plywood for the bottom of the crates
- Wood screws or nails
- Wood glue
- Sandpaper
- Wood stain or paint (optional)
- Table saw or hand saw
- Drill
- Measuring tape
- Safety goggles
- Clamps
Step-by-Step Instructions
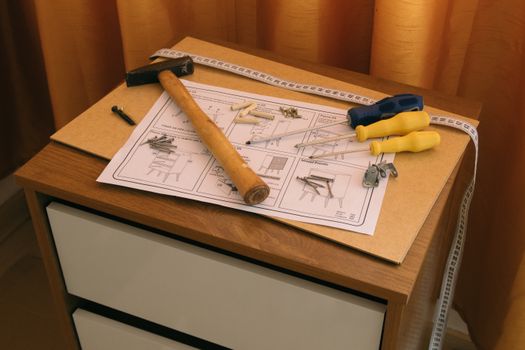
1. Plan Your Design
Before you begin building, sketch out your design. Consider the size and number of crates you want. Keep in mind the dimensions of the space where the storage system will go. For detailed plans, you can refer to resources like Ted Woodworking, which offers comprehensive guides for various woodworking projects.
2. Cut Your Wood
Using your measurements, cut the 1x lumber for the sides, front, and back of each crate. A common size for a crate is 24" long, 16" wide, and 12" tall. Here’s a breakdown of the cuts:
- 2 pieces at 24" for the long sides
- 2 pieces at 16" for the short sides
- 1 piece at 24" x 16" for the bottom
**Common Mistake:** Not double-checking your measurements can lead to misaligned cuts. Always measure twice before cutting.
3. Assemble the Crates
Start assembling the crates by attaching the long sides to the short sides using wood screws or nails. Apply wood glue to the joints for added strength. Use clamps to hold the pieces together while the glue dries.
4. Attach the Bottom
Once the sides are secured, attach the plywood bottom to the crate frame. This will provide stability and support for the items you plan to store.
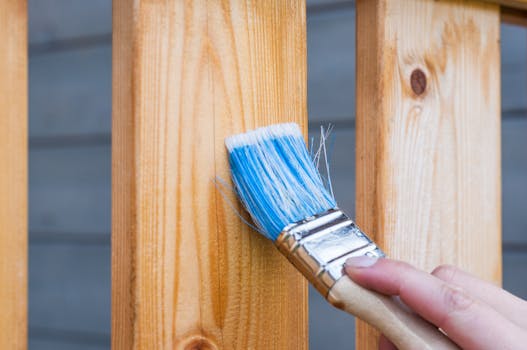
5. Sand and Finish
After assembly, sand down any rough edges to ensure a smooth finish. If desired, apply wood stain or paint to enhance the appearance of the crates. Allow adequate drying time before moving on to the next step.
6. Create the Storage System
To create a complete storage system, consider stacking the crates or arranging them on a shelving unit. You can also attach wheels to the bottom for easy mobility.
Troubleshooting Tips
Crate Stability Issues
If your crates feel unstable once assembled, check the joints. If they are loose, reinforce them with additional screws or wood glue. Make sure the bottom panel is securely attached and not warped.
Uneven Crate Heights
If your crates are not of uniform height, revisit your cuts. It’s essential to keep all dimensions consistent. If you discover a height discrepancy after assembly, you can adjust the height by trimming down the taller crates.
Difficulty in Assembly
Struggling with alignment during assembly? A helpful tip is to use a square to ensure right angles at the corners. If alignment issues persist, consider using pocket hole screws for a neater and more secure fit.
Common Mistakes to Avoid
- Ignoring Quality of Materials: Always choose high-quality wood that is free from knots and warps to ensure durability.
- Skipping Sanding: Don’t skip the sanding process; it not only improves aesthetics but also prevents splinters.
- Not Testing Weight Capacity: If you plan to stack crates, test their weight capacity before loading them up to avoid collapse.
Conclusion
Building a DIY wood crate storage system is a rewarding project that can enhance your home’s organization and aesthetics. By following these steps and keeping in mind the common mistakes to avoid, you’ll create a functional and charming storage solution. Remember to refer to resources like Ted Woodworking for additional plans and inspiration as you embark on your woodworking journey.
FAQ
1. How much weight can a wooden crate hold?
The weight capacity of a wooden crate depends on the type of wood and construction quality. Generally, a well-constructed crate can hold between 50-100 pounds.
2. How can I customize my crate storage system?
You can customize your crate storage system by painting, staining, or adding decorative elements like stencils or hardware for a personal touch.
3. Can I use recycled wood for my crates?
Yes, recycled wood can be an excellent choice for making crates, as long as it is structurally sound and free from pests or rot.
📚 Related Articles
🔨 Want 16,000+ Woodworking Plans?
Get instant access to step-by-step plans with blueprints and cut lists.
Get Instant Access →