Introduction
Are you looking to add a touch of elegance and personalization to your bedroom? A wooden headboard is not only functional but also serves as a stunning focal point in your space. In this article, we’ll guide you through the process of how to build a wooden headboard for a queen bed. Whether you prefer a rustic headboard or a modern headboard, we’ve got you covered with this easy headboard project.
Step-by-Step Guide to Building Your Wooden Headboard
Creating a custom headboard can be a rewarding project. Follow our step-by-step wooden headboard tutorial to craft your perfect piece.
Materials Needed
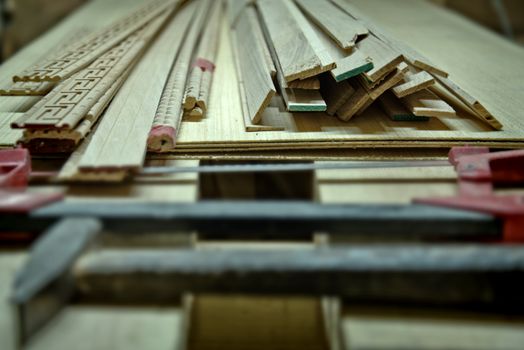
- Wood boards (choose from best wood for making a headboard options like pine, oak, or plywood)
- Wood screws
- Wood glue
- Sandpaper (various grits)
- Wood finish or paint (optional)
- Measuring tape
- Saw (hand saw or power saw)
- Drill
- Level
Step 1: Measure and Cut Your Wood
Start by measuring the width of your queen bed, typically around 60 inches. Decide on the height of your headboard based on your design preference. Once you have your measurements, cut the wood boards to size. For a custom headboard, consider using reclaimed wood for an upcycled headboard look.
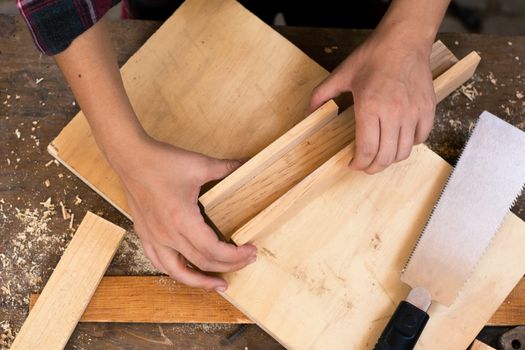
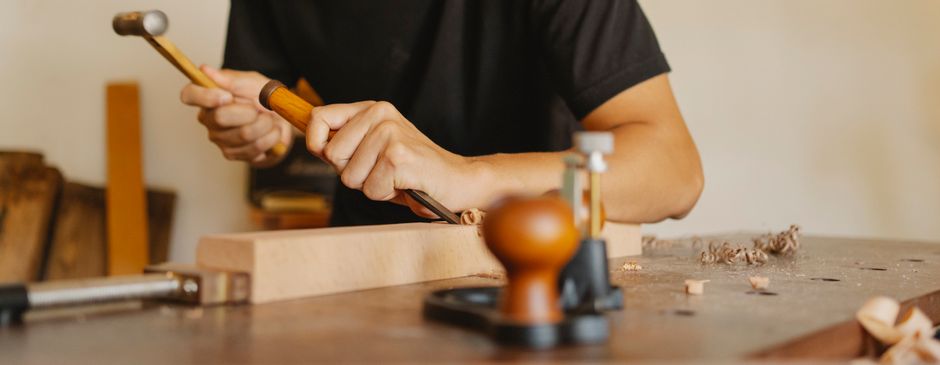
Step 2: Assemble the Framework
Using wood screws and glue, assemble the wood pieces to create the headboard structure. Ensure that everything is aligned and use a level to check for accuracy. This framework will provide stability for your headboard.
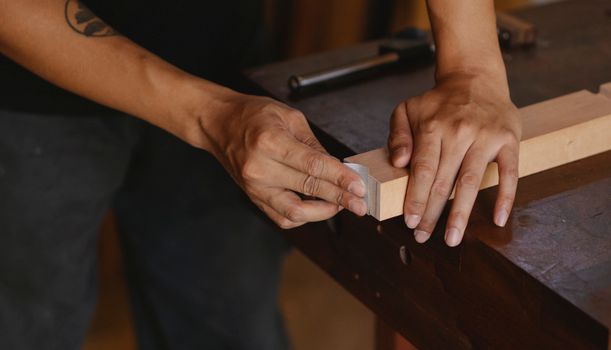
Step 3: Sand and Finish
Once your headboard is assembled, sand the entire surface to remove any rough edges. This will give your headboard a smooth finish. You can choose to apply a wood stain or finish to enhance the natural beauty of the wood or paint it to match your bedroom decor.
Step 4: Attach to the Bed Frame
Using brackets or screws, securely attach the headboard to the bed frame. Make sure it is sturdy and can support the weight of any decorative elements you plan to add.
Practical Tips for Your Wooden Headboard Project
- Choose the right wood: Different wood types can give distinct looks and durability. Pine is affordable and easy to work with, while oak offers a more robust structure.
- Personalize your design: Don’t hesitate to incorporate patterns, painted designs, or even fabric for a custom touch.
- Consider height: The height of your headboard can dramatically change the look of your room. Aim for at least 48-60 inches for a more dramatic effect.
Frequently Asked Questions
1. What is the best wood for making a headboard?
The best wood for making a headboard often depends on your budget and design preference. Popular choices include pine for affordability, oak for durability, and plywood for versatility.
2. Can I build an affordable DIY wooden headboard?
Absolutely! With the right tools and materials, you can create an affordable DIY wooden headboard that suits your style. Upcycling old wood is a fantastic way to save money while adding character.
3. How can I customize my own wooden headboard?
You can customize your own wooden headboard by choosing different wood types, shapes, and finishes. Adding personal touches like stenciling or incorporating fabric can make your headboard uniquely yours.
Conclusion
Building a wooden headboard is an enjoyable and fulfilling project that can enhance your bedroom's aesthetic while providing comfort. With our step-by-step guide, you can easily create a stunning headboard that reflects your personal style. Whether you opt for a rustic or modern design, this project is a fantastic way to express your creativity. For more woodworking plans and inspiration, check out resources like Ted's Woodworking.
🔨 Want 16,000+ Woodworking Plans?
Ted's Woodworking gives you instant access to over 16,000 step-by-step plans with detailed blueprints, cut lists, and material lists for every project.
Get Instant Access →