How to Create a Personalized Wooden Name Sign for Your Child
Creating a personalized wooden name sign for your child is a delightful DIY project that not only enhances their room decor but also adds a unique touch that reflects their personality. In this guide, we will walk you through the process of building a wooden name sign on a budget, offering tips for cost-saving materials and techniques.
Why Make a Wooden Name Sign?
Wooden name signs serve multiple purposes:
- They personalize your child's space.
- They can be a great learning tool for younger children.
- They offer an opportunity to showcase your woodworking skills.
Now, let’s dive into the steps to create your own wooden name sign!
Materials You'll Need
Before you start, gather the following materials. You can often find these at local hardware stores, online retailers, or consider repurposing old wooden furniture for a more budget-friendly option:
- Wood Board: Choose a softwood like pine or plywood. These are generally cheaper and easier to work with.
- Wood Stain or Paint: Select colors that match your child's room. Non-toxic options are best for kids.
- Sandpaper: Use fine-grit sandpaper for a smooth finish.
- Wood Glue: If you’re adding decorative elements.
- Paintbrush or Foam Brush: For applying paint or stain.
- Letter Templates or Stencils: You can either buy these or make your own.
- Drill and Drill Bits: For attaching hanging hardware, if needed.
- Hanging Hardware: Depending on how you plan to display the sign.
Step-by-Step Instructions
Step 1: Choose Your Design
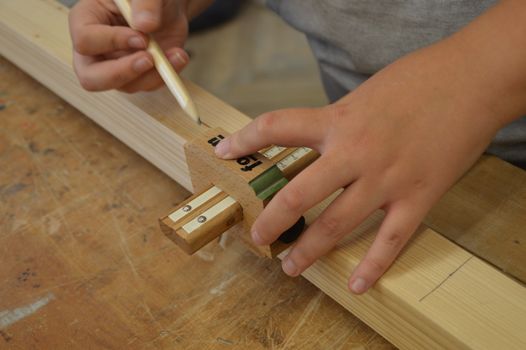
Before cutting any wood, decide on the design of your name sign. You can sketch it out on paper or use a design software. Consider the size based on your child’s age and the space available in their room.
Step 2: Cut the Wood
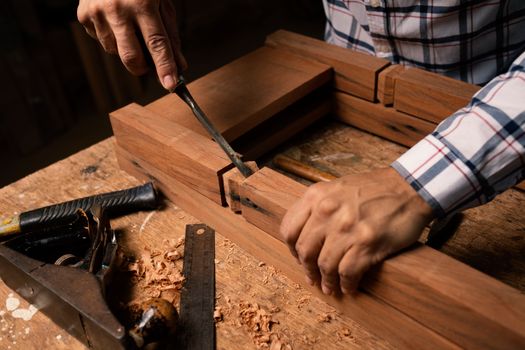
Once you have your design, measure and mark the dimensions on your wood board. Using a saw (hand saw or jigsaw), carefully cut the wood according to your measurements. If you are not comfortable with power tools, some hardware stores offer cutting services.
Step 3: Sand the Edges
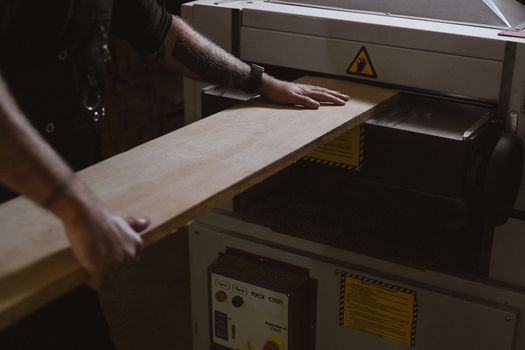
After cutting, use sandpaper to smooth out the edges and surface of the wood. This step is crucial to avoid splinters and ensure a polished finish.
Step 4: Paint or Stain the Base
Using your paint or wood stain, apply a base coat to the entire wooden piece. This can be a solid color or a stain that showcases the wood grain. Allow it to dry completely before moving on to the next step.
Step 5: Prepare the Letters
Using your letter templates or stencils, trace the letters of your child’s name onto a separate piece of wood. Cut these letters out carefully, ensuring they are proportional to the base sign. Sand the edges of the letters as well.
Step 6: Attach the Letters
Once the letters are cut and sanded, apply wood glue to the back of each letter and position them on the base sign. Make sure they are evenly spaced and aligned. Hold them in place until the glue sets.
Step 7: Finishing Touches
After the glue has dried, you can add additional designs or decorations around the name if desired. Consider using small wooden shapes, stickers, or even hand-painted designs to personalize it further.
Step 8: Add Hanging Hardware
Depending on how you want to display the name sign, you may need to attach hanging hardware. Drill small holes in the back of the sign and attach D-rings or sawtooth hangers to make it easy to hang on the wall.
Budget Tips
Creating a personalized wooden name sign doesn’t have to break the bank. Here are some cost-saving tips:
- Repurpose Wood: Look for old furniture or pallets that you can repurpose for your project.
- Buy in Bulk: If you need several materials, buying in bulk can save money.
- Use Leftover Paint: Check your garage for leftover paint or stain from previous projects.
- DIY Tools: Consider borrowing tools from friends or family instead of buying them.
- Free Plans: Use resources like Ted Woodworking which offers detailed plans that can inspire your project.
Conclusion
Creating a personalized wooden name sign for your child is a fun and rewarding project that can be completed on a budget. With a few simple tools, affordable materials, and a little creativity, you can make a special piece that will brighten your child's room and become a cherished keepsake.
FAQ
- What type of wood should I use for a name sign? Softwoods like pine or plywood are budget-friendly and easy to work with.
- How can I ensure the paint or stain is safe for my child? Always choose non-toxic and child-safe paints and stains.
- Can I create a name sign if I'm a beginner at woodworking? Absolutely! This project is simple and perfect for beginners. Just take your time and follow each step carefully.
📚 Related Articles
🔨 Want 16,000+ Woodworking Plans?
Get instant access to step-by-step plans with blueprints and cut lists.
Get Instant Access →