Introduction
Building furniture from reclaimed materials like pallets not only saves you money but also contributes to an eco-friendly lifestyle. In this article, we will guide you through the process of constructing a functional shoe rack using pallets. Along the way, we will highlight common mistakes to avoid and provide troubleshooting tips to ensure your project runs smoothly.
Materials Needed
- Pallets (2-3 depending on size)
- Screws or nails
- Wood glue
- Saw (hand saw or power saw)
- Sandpaper or a power sander
- Measuring tape
- Drill
- Wood finish or paint (optional)
- Safety goggles and gloves
Step-by-Step Construction Guide
Step 1: Select the Right Pallets
Not all pallets are created equal. Choose pallets that are in good condition, free from major cracks or broken boards. Look for HT (Heat Treated) stamped pallets, as they are safe for indoor use. Avoid pallets that are stained or have chemical markings.
Step 2: Disassemble the Pallets
Using a pry bar and hammer, carefully disassemble the pallets. This can be tricky, as you want to avoid damaging the wood. A common mistake is using excessive force, which can splinter the wood. Instead, apply steady pressure and use the pry bar to loosen the boards gradually.
Step 3: Prepare the Wood
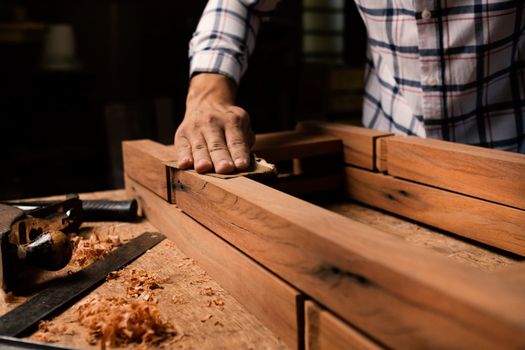
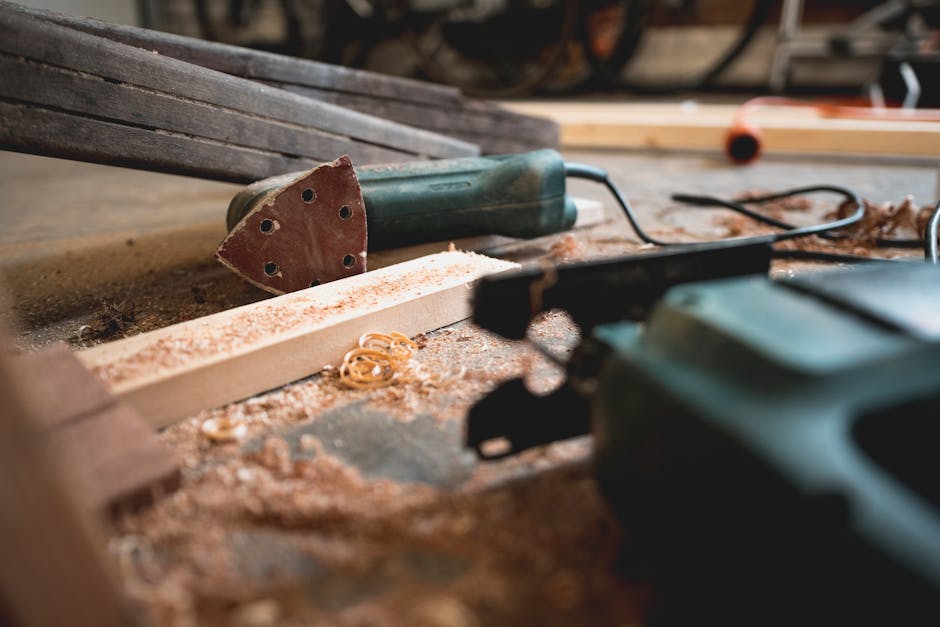
Once disassembled, sand down all the pieces to remove rough edges and splinters. This is crucial for safety and aesthetics. If you skip this step, you may end up with a shoe rack that could injure you or damage your shoes.
Step 4: Design Your Shoe Rack
Before you start assembling, sketch out a design. Decide how many tiers you want and how wide each tier should be. A common mistake is not planning enough space for each pair of shoes. Make sure to measure your shoes and allow for a bit of extra space.
Step 5: Assemble the Frame
Begin by laying out the base of the shoe rack. Use longer pallet boards for the bottom and shorter ones for the sides. Secure the boards together using screws or nails. Be cautious of the alignment; an unlevel base can lead to a wobbly rack. If you find it difficult to keep everything straight, try using clamps to hold the pieces together as you work.
Step 6: Add the Shelves
Once the frame is secure, start adding the shelves. Space them according to your shoe sizes. A common issue is placing the shelves too close together, which can limit the types of shoes you can store. To avoid this, consider the height of boots versus flats and adjust accordingly.
Step 7: Final Touches
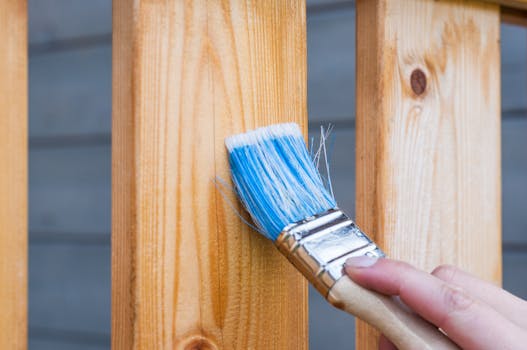
Once assembled, give the entire shoe rack a final sanding to ensure smooth surfaces. If desired, apply a wood finish or paint to match your home decor. A mistake to avoid here is applying too much finish, which can result in a sticky surface. A thin, even coat is ideal.
Step 8: Troubleshooting Common Issues
Even with careful planning, you may encounter some challenges. Here are a few common issues and their fixes:
- Issue: The shoe rack wobbles.
- Fix: Check the base and adjust the legs. You may need to sand down one side or add felt pads to balance it out.
- Issue: Shelves are uneven.
- Fix: Ensure that all shelves are level during assembly. Use a level tool and make adjustments as necessary.
- Issue: Wood splinters or chips.
- Fix: If you find splinters after assembly, sand the area down carefully. Consider using wood filler for deeper chips.
Using Plans for Guidance
If you're looking for more detailed plans or inspiration, consider checking out Ted Woodworking. They offer a variety of woodworking plans that can help guide you through your project with step-by-step instructions.
Conclusion
Constructing a shoe rack from pallets can be a rewarding project that enhances both your home and your woodworking skills. By following the steps outlined in this guide and avoiding the common mistakes discussed, you can create a functional and stylish shoe rack that meets your needs.
Frequently Asked Questions
1. Can I use any type of pallet for my shoe rack?
While you can technically use any pallet, it’s best to choose HT (Heat Treated) pallets that are free from chemicals and stains for indoor use.
2. How many pairs of shoes can a pallet shoe rack hold?
This depends on the size of your shoe rack and the spacing of the shelves. On average, a standard shoe rack can hold 6-12 pairs of shoes.
3. What is the best finish for a pallet shoe rack?
Consider using a wood stain or polyurethane finish to protect the wood and enhance its appearance. Always ensure it is safe for indoor use.
📚 Related Articles
🔨 Want 16,000+ Woodworking Plans?
Get instant access to step-by-step plans with blueprints and cut lists.
Get Instant Access →