Introduction
Creating a stunning wood headboard can be a rewarding project that elevates your bedroom decor. In this article, we will guide you through the process of building a beautiful DIY wood headboard in under 2 hours. Using advanced joinery techniques and ensuring a professional finish, you can achieve a piece that looks store-bought. Let's dive in!
Materials and Tools
Before getting started, gather the following materials and tools:
- Materials:
- 1 sheet of plywood (3/4 inch thick, 4x8 feet)
- Wood glue
- Wood screws (1.5 inches)
- Sandpaper (120 and 220 grit)
- Wood stain or paint
- Clear coat finish
- Tools:
- Circular saw or table saw
- Drill with bits
- Clamps
- Measuring tape
- Square
- Screwdriver
- Paintbrush or roller
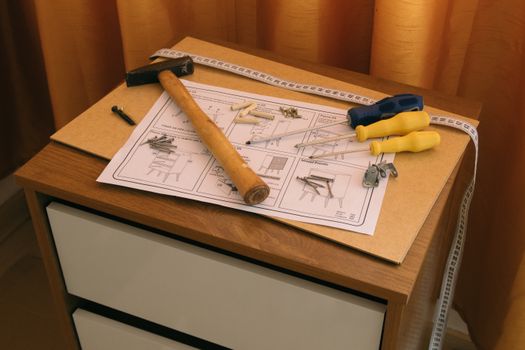
Step 1: Design Your Headboard
Before cutting any wood, sketch out your headboard design. Consider the dimensions based on your bed size. A common height for a headboard is between 48 to 60 inches. Keep it proportional to your bed width, ensuring it extends slightly beyond the mattress.
Step 2: Cut the Plywood to Size
Using your circular saw or table saw, carefully cut the plywood to your desired dimensions. Always measure twice to ensure accuracy. Use a square to mark straight lines; this will help prevent any issues during assembly.
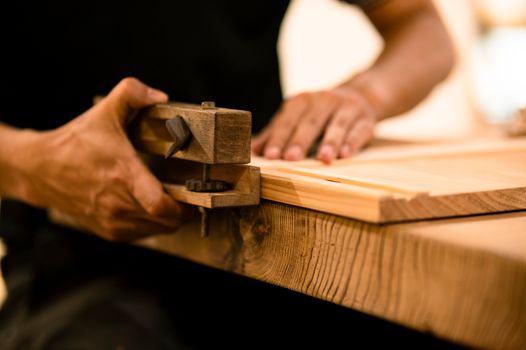
Step 3: Create Advanced Joinery for Stability
For a professional finish and added stability, we will use pocket hole joinery. This technique allows you to join two pieces of wood at an angle, creating a strong bond without visible screws on the surface.
- Set your pocket hole jig to the thickness of your plywood.
- Drill pocket holes on the back of your headboard piece, spaced about 12 inches apart.
- Drill corresponding holes in any additional decorative pieces or support beams you plan to attach.
Step 4: Assemble the Headboard
With your pocket holes ready, it's time to assemble the headboard. Apply wood glue to the edges of the pieces you are joining, then clamp them securely. Using the drill, drive screws into the pocket holes to create a strong, stable connection.
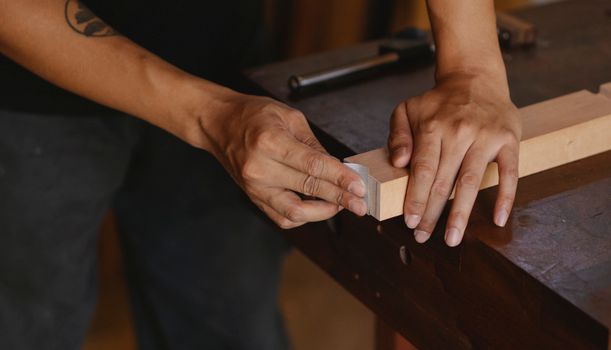
Step 5: Sand the Edges and Surface
After assembly, use 120 grit sandpaper to smooth the edges and surface of the headboard. Follow up with 220 grit sandpaper for a finer finish. This step is crucial in preparing the wood for staining or painting.
Step 6: Apply Stain or Paint
Once you're satisfied with the sanding, it's time to apply your choice of stain or paint. If you're staining, apply a generous amount with a brush or roller and wipe off the excess after a few minutes with a clean cloth. Allow it to dry completely. If painting, a primer coat may be necessary before the final paint application.
Step 7: Finish with a Clear Coat
To protect your headboard and give it a professional shine, apply a clear coat finish. This will enhance the color and provide durability. Follow the manufacturer's instructions for application and drying times.
Step 8: Mount the Headboard
Once the finish is completely dry, it's time to mount the headboard. You can attach it directly to the wall or to the bed frame, depending on your design preference. If mounting to the wall, locate the studs for secure anchoring.
Conclusion
In just under 2 hours, you can create a beautiful DIY wood headboard using advanced techniques that ensure durability and a professional finish. This project not only adds style but also enhances the comfort of your bedroom. For more detailed plans and ideas, consider checking out Ted Woodworking, a great resource for woodworking enthusiasts.
FAQ
1. How can I customize my headboard design?
You can customize your headboard by changing the height, width, or shape. Adding decorative elements like molding or fabric can also enhance its appearance.
2. What type of wood is best for a headboard?
Plywood is a great option due to its stability and ease of use. However, hardwoods like oak or maple can offer a more refined look and durability.
3. How do I properly maintain my wood headboard?
Regularly dust your headboard with a soft cloth and avoid using harsh chemicals. Reapply a clear coat finish every few years to maintain its shine and protect the wood.
📚 Related Articles
🔨 Want 16,000+ Woodworking Plans?
Get instant access to step-by-step plans with blueprints and cut lists.
Get Instant Access →