Introduction
Floating shelves are a stylish and practical way to display items in your home. They create the illusion of space while providing functional storage without the bulk of traditional shelving units. In this guide, we will walk you through the process of designing and building a floating shelf using minimal tools, making it perfect for beginners.
Tools and Materials Needed
Before diving into the project, let’s gather the necessary tools and materials. Fortunately, you don’t need a fully stocked workshop to complete this project. Here’s a list of what you’ll need:
- Tools:
- Measuring tape
- Pencil
- Level
- Drill
- Screwdriver
- Stud finder (optional)
- Sandpaper (medium and fine grit)
- Paint or wood stain (optional)
- Materials:
- Wood board (1" x 8" or similar, length depends on your design)
- Wood screws (1.5" to 2" screws)
- Wall brackets or shelf support (if not using concealed mounting)
- Wood glue (optional)
Step 1: Plan Your Design
Before you start cutting wood, it’s essential to plan your design. Decide where you want to place the shelf and what its purpose will be. Consider the following:
- Dimensions: How long and deep do you want the shelf to be?
- Style: Will it be a simple flat shelf, or do you want to add decorative edges?
- Weight Capacity: Consider what you will place on the shelf to determine the thickness of the wood and the type of support needed.
You can also check out resources like Ted Woodworking for detailed plans and ideas to inspire your design.
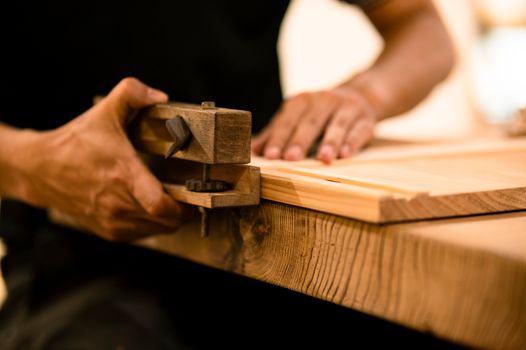
Step 2: Measure and Cut the Wood
Once you have your design, it’s time to cut your wood to size. Measure carefully and mark your cuts with a pencil:
- Use the measuring tape to measure the desired length of your shelf.
- Mark the cut line on the wood board.
- Using a saw (hand saw or circular saw), carefully cut along the marked line. Make sure to follow safety precautions while using sharp tools.
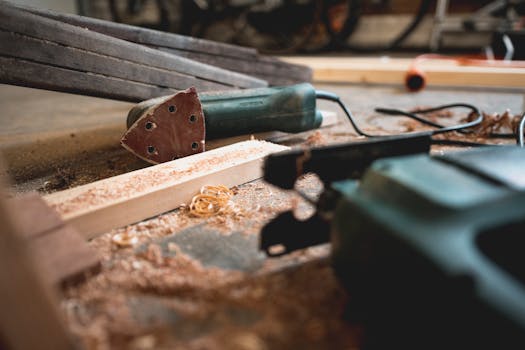
- After cutting, use sandpaper to smooth any rough edges.
Step 3: Prepare the Wall
Next, you’ll need to prepare the wall where the shelf will be mounted:
- Use a stud finder to locate the studs in your wall, as this will provide the best support for your floating shelf.
- Mark the locations of the studs with a pencil.
- Using a level, draw a straight line where your shelf will sit. This will ensure that your shelf is perfectly level when installed.
Step 4: Install the Brackets or Supports
Depending on your design, you may use wall brackets or a concealed mounting method. Here’s how to install both:
Using Wall Brackets
- Hold the wall bracket against the wall, aligning it with the stud marks.
- Using a drill, secure the bracket to the wall with screws. Make sure it's level before tightening the screws.
- Repeat for any additional brackets needed for support.
Using Concealed Mounting
- For concealed mounting, install metal brackets inside the shelf. Drill holes into the back of the shelf and attach the brackets.
- Align the shelf on the wall, inserting the brackets into the wall anchors or studs.
Step 5: Attach the Shelf
With the brackets in place, it’s time to attach the shelf:
- If using wall brackets, simply place the shelf on the brackets and secure it as needed.
- If using concealed mounting, slide the shelf onto the installed brackets, ensuring it’s level.
Step 6: Finishing Touches
Now that your shelf is installed, it’s time for the finishing touches:
- If you haven’t done so, you can paint or stain the wood to match your decor.
- Allow any finishes to dry completely before placing items on the shelf.
Conclusion
Building a floating shelf can be a rewarding project that enhances your home’s aesthetic while providing functional storage. With just a few basic tools and materials, you can create a custom shelf that showcases your style. Remember to take your time, measure accurately, and most importantly, enjoy the process of creating something uniquely yours!
FAQ
1. What type of wood is best for a floating shelf?
Hardwoods like oak, maple, or walnut are great options for durability and aesthetics. Softwoods like pine can also work well and are usually more affordable.
2. How much weight can a floating shelf hold?
The weight capacity depends on the brackets used and how well the shelf is anchored to the wall. On average, a properly installed floating shelf can hold between 20 to 50 pounds.
3. Can I install a floating shelf without drilling into the wall?
While drilling provides the most secure installation, there are adhesive shelf options available. However, these may not support heavy items and are best for lightweight decor.
📚 Related Articles
🔨 Want 16,000+ Woodworking Plans?
Get instant access to step-by-step plans with blueprints and cut lists.
Get Instant Access →