Introduction
Applying varnish to your woodworking projects can elevate the appearance and durability of your furniture. However, achieving a professional finish requires careful attention to detail and an understanding of common pitfalls. In this article, we'll explore how to apply varnish properly, highlighting common mistakes and providing troubleshooting tips to help you achieve that flawless finish.
Understanding Varnish
Before diving into the application process, it's essential to understand what varnish is and how it differs from other finishes. Varnish is a clear or semi-transparent finish that forms a hard protective layer on the surface of wood. Its primary purpose is to enhance the wood's natural beauty while providing resistance to moisture, UV rays, and wear.
Choosing the Right Varnish
- Oil-based Varnish: Offers a warm glow and is durable, making it suitable for high-traffic areas.
- Water-based Varnish: Dries quickly and has low odor, ideal for indoor applications.
- Polyurethane Varnish: Provides excellent protection and is available in both oil and water-based formulas.
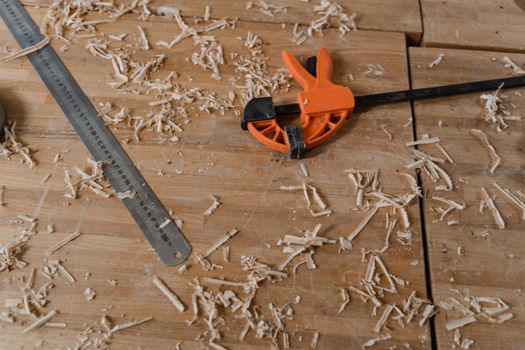
Preparation Before Varnishing
Proper preparation is crucial for a successful varnish application. Here are the steps to follow:
- Sand the Surface: Begin by sanding the wood with progressively finer grits of sandpaper, starting with 120 grit and finishing with 220 grit for a smooth surface.
- Clean the Surface: After sanding, remove all dust using a vacuum and a tack cloth to ensure a clean surface for varnishing.
- Choose the Right Environment: Ensure you are working in a well-ventilated area with controlled temperature and humidity levels to avoid issues like bubbling and improper drying.
Application Techniques
Once your surface is prepped, it's time to apply the varnish. Here are effective techniques:
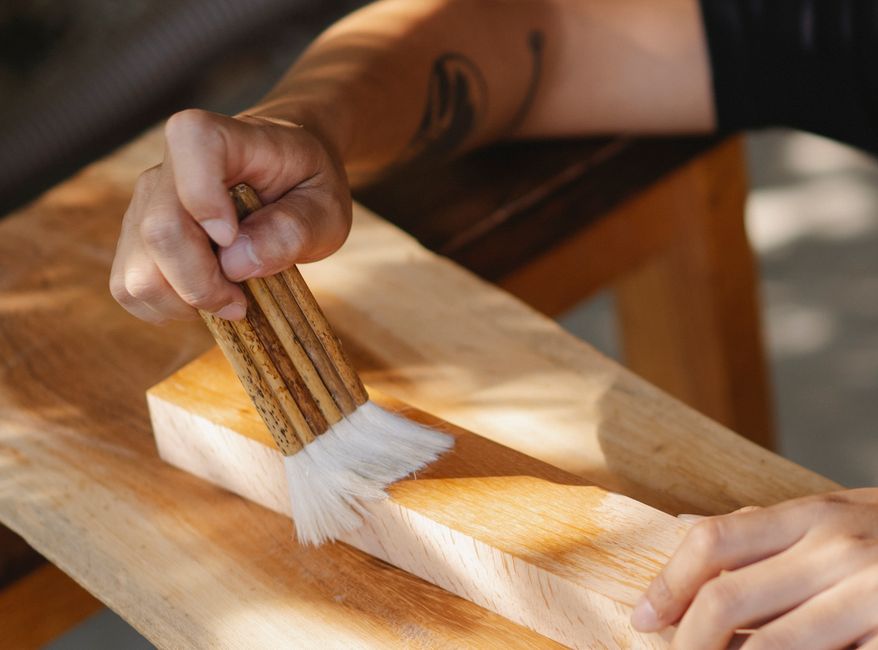
Using the Right Tools
- Brush: A high-quality natural bristle brush is recommended for oil-based varnishes, while synthetic brushes work well for water-based formulas.
- Roller: A foam roller can be used for larger surfaces to cover more area quickly.
- Sprayer: For a smooth finish, consider using a spray gun, but be sure to practice on scrap wood first.
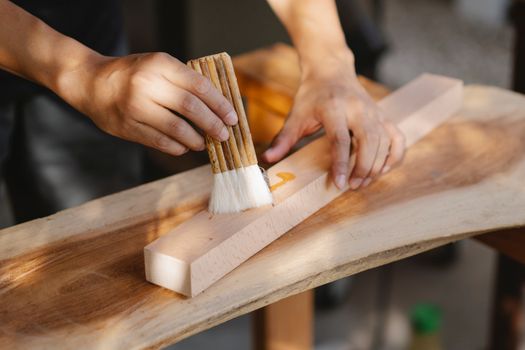
Application Process
- First Coat: Apply a thin, even coat of varnish, working in the direction of the grain. Avoid overloading your brush to prevent drips and runs.
- Drying Time: Allow the first coat to dry completely according to the manufacturer’s instructions before applying subsequent coats.
- Sanding Between Coats: Lightly sand between coats with a fine grit sandpaper (320 grit) to promote adhesion and smoothness.
- Final Coat: Apply a final coat using the same technique, ensuring an even finish.
Common Mistakes to Avoid
Even seasoned woodworkers can make mistakes when applying varnish. Here are some common errors to watch out for:
1. Applying Too Thick a Coat
Applying a thick layer of varnish can lead to runs and drips. Always apply thin coats and build up layers gradually.
2. Not Allowing Proper Drying Time
Rushing the process can result in a tacky finish. Be sure to follow the drying times recommended on the varnish can.
3. Ignoring Environmental Conditions
High humidity or low temperatures can affect drying times and finish quality. Aim for a controlled environment.
Troubleshooting Tips
If you encounter problems during the varnishing process, here are some troubleshooting tips:
Fixing Runs and Drips
If you notice runs or drips in the finish, wait until the varnish is completely dry, then lightly sand the area and apply a new coat.
Dealing with Dust and Debris
Dust particles can settle on the varnish, ruining the finish. If this happens, sand the affected area and reapply varnish after cleaning the surface.
Cloudiness or Milky Finish
Cloudiness can occur if varnish is applied in high humidity. If this happens, you may need to sand the area and reapply when conditions are more favorable.
Additional Resources
If you’re looking for detailed plans and projects to apply your varnishing skills, consider checking out Ted Woodworking. They offer a vast array of woodworking plans that can help you enhance your furniture building experience.
Conclusion
Applying varnish is a skill that requires practice and attention to detail. By avoiding common mistakes and following the proper techniques, you can achieve a beautiful, professional finish on your woodworking projects. Remember to take your time, and don’t hesitate to troubleshoot issues that arise.
FAQ
1. How long should I wait between coats of varnish?
Generally, you should wait at least 4-6 hours for oil-based varnish and 2-3 hours for water-based varnish. Always refer to the manufacturer's guidelines.
2. Can I use a foam brush for varnishing?
Yes, a foam brush can be used, especially for water-based varnishes. However, a high-quality bristle brush is often recommended for better results.
3. What should I do if my varnish is too thick?
If your varnish has thickened, you can thin it with the appropriate solvent (like mineral spirits for oil-based varnish) according to the manufacturer's instructions.
📚 Related Articles
🔨 Want 16,000+ Woodworking Plans?
Get instant access to step-by-step plans with blueprints and cut lists.
Get Instant Access →