Introduction
Creating a unique finish on your woodworking projects can elevate the craftsmanship and style, distinguishing your work from the ordinary. Layering different finishes is an advanced technique that allows you to achieve remarkable visual effects while also enhancing the durability of your pieces. In this article, we will delve into how to layer finishes effectively, focusing on precision, joinery, and achieving a professional look.
Understanding the Basics of Finishes
Before diving into layering techniques, it’s essential to understand the different types of finishes available:
- Oil Finishes: These penetrate the wood, enhancing its natural grain while providing a warm, soft sheen.
- Lacquer: A fast-drying finish that gives a high-gloss look; it’s excellent for achieving a smooth surface.
- Polyurethane: Known for its durability, this finish comes in both oil-based and water-based variants and can provide a clear or tinted finish.
- Varnish: A robust finish that offers good protection and can be layered for depth.
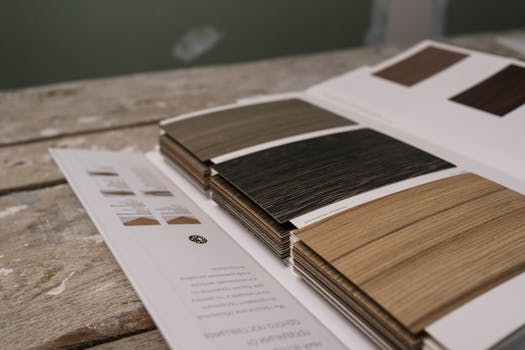
- Stains: Used primarily to change the color of wood, stains can add depth when layered beneath other finishes.
Tools and Materials Needed
To successfully layer finishes, you’ll need the following tools and materials:
- Fine-grit sandpaper (220 grit and higher)
- Brushes (natural bristle for oil finishes, synthetic for water-based)
- Clean rags (lint-free)
- Finish applicators (foam brushes or spray equipment for lacquer)
- Safety equipment (gloves, mask, goggles)
- Your selected finishes (e.g., oil, lacquer, polyurethane, stains)
- Wood conditioner (for softwoods)
- Test boards (for experimentation)
Preparing Your Wood Surface
The preparation of your wood surface is crucial for achieving a professional finish. Follow these steps:
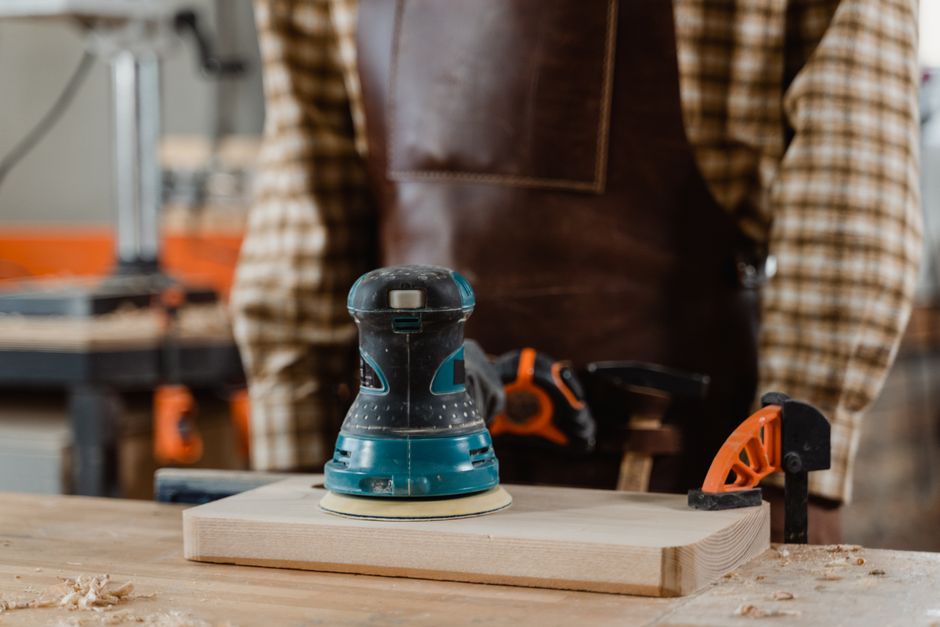
- Sanding: Start with rougher sandpaper (120 grit) and progress to finer grits (up to 320 grit) to create a smooth surface.
- Cleaning: Remove dust and debris with a tack cloth or damp rag. Any residue can lead to poor adhesion between layers.
- Conditioning: If working with softwoods, apply a wood conditioner to promote even stain absorption.
Layering Techniques
Now that your surface is prepared, let’s explore how to layer different finishes for unique effects:
1. Stain and Oil Finish
This combination is excellent for highlighting the wood grain while providing a rich depth of color.
- Apply Stain: Use a brush or rag to apply a stain evenly. Wipe off excess after a few minutes to avoid blotchiness.
- Let it Dry: Allow the stain to dry completely, typically 24 hours.
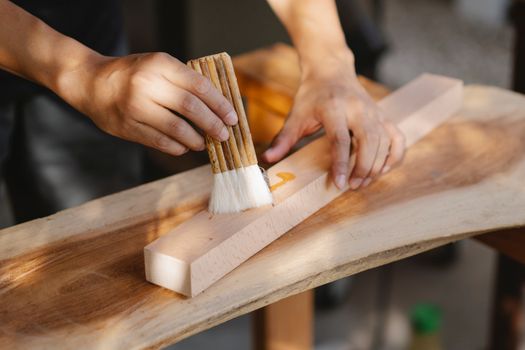
- Add Oil Finish: Apply an oil finish (like Danish oil) to enhance the color and grain. Apply multiple coats, allowing each to penetrate and dry.
2. Oil, then Varnish
This technique provides a warm look followed by a tough protective layer.
- Start with Oil: Apply your preferred oil finish, allowing it to soak in and dry.
- Sand Between Coats: Lightly sand between oil coats with fine-grit sandpaper for a smoother finish.
- Apply Varnish: After the final oil coat dries, apply varnish for protection. Use a foam brush for a smooth application.
3. Lacquer Over Stain
This combination can yield a high-gloss finish that showcases the wood's character.
- Stain Application: Apply the stain as discussed earlier, ensuring it is even.
- Drying Time: Allow the stain to dry completely to prevent issues with adhesion.
- Lacquer Application: Apply lacquer in thin coats, using a spray gun or brush. Sand lightly between coats for a flawless finish.
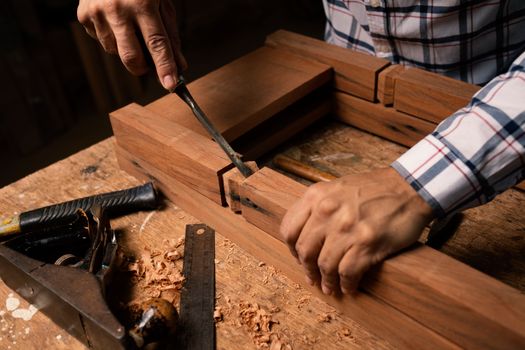
Precision in Joinery and Finishing
For a truly professional finish, attention to detail in joinery is vital. Ensure that joints are tight and well-fitted, as gaps can lead to uneven finishes. Techniques such as:
- Mortise and Tenon: Provides a strong joint that can be sanded flush for a seamless look.
- Dovetail Joints: Both strong and visually appealing, dovetails can be highlighted by layering finishes.
- Finger Joints: These can be finished to blend seamlessly with the rest of the piece, particularly after staining.
Conclusion
Layering finishes is a powerful technique in woodworking that can yield unique and stunning results. By understanding the properties of different finishes and how they interact, you can create a professional look that enhances the beauty of your wood projects. For detailed plans and guidance on various woodworking techniques, consider checking out Ted Woodworking, which offers a wealth of resources to help you on your journey.
FAQ Section
1. Can I layer different brands of finishes?
Yes, but it's essential to ensure compatibility between products. Always test on a scrap piece of wood first.
2. How do I know when each layer is dry?
Follow the manufacturer’s recommendations for drying times. Generally, oil finishes take longer than lacquer or polyurethane.
3. What should I do if a layer bubbles or peels?
If you encounter bubbling or peeling, sand the affected area down to bare wood and reapply the finish carefully, ensuring proper surface preparation.
📚 Related Articles
🔨 Want 16,000+ Woodworking Plans?
Get instant access to step-by-step plans with blueprints and cut lists.
Get Instant Access →