How to Build a Simple Bookshelf with Basic Woodworking Skills
Building your own bookshelf can be a rewarding project, especially for beginners looking to hone their woodworking skills. Not only do you get to create a functional piece of furniture, but you can also customize it to fit your style and space. This guide will walk you through the steps to build a simple bookshelf on a budget, using cost-effective materials and tools.
Materials Needed
- Plywood: 3/4 inch thick is ideal for sturdiness.
- Wood screws: 1.25 to 1.5 inches long.
- Wood glue: for added stability.
- Sandpaper: 120 and 220 grit for smoothing edges.
- Wood finish or paint: to protect and beautify your shelf.
- Brackets (optional): for additional support if needed.
Tools Required
- Measuring tape: to ensure accurate dimensions.
- Circular saw or hand saw: for cutting wood.
- Drill: for making holes for screws.
- Screwdriver: to drive in screws.
- Clamps: to hold pieces together while the glue dries.
Step-by-Step Instructions
1. Plan Your Bookshelf
Before you start cutting wood, you need a solid plan. Think about where you want to place your bookshelf and how many shelves you want. A simple design consists of a top, bottom, and several shelves in between. A common size for a basic bookshelf is 36 inches tall, 30 inches wide, and 12 inches deep. You can adjust these dimensions based on your needs.
2. Measure and Cut the Wood
Using your measuring tape, mark the dimensions on the plywood. Here’s a basic cut list:
- 2 pieces for the sides: 36 inches tall by 12 inches deep
- 1 piece for the top: 30 inches wide by 12 inches deep
- 1 piece for the bottom: 30 inches wide by 12 inches deep
- 3 pieces for the shelves: 30 inches wide by 12 inches deep (you can add more if desired)
Use a circular saw or hand saw to make your cuts. Remember to wear safety goggles and a mask to protect yourself while cutting.
3. Assemble the Bookshelf
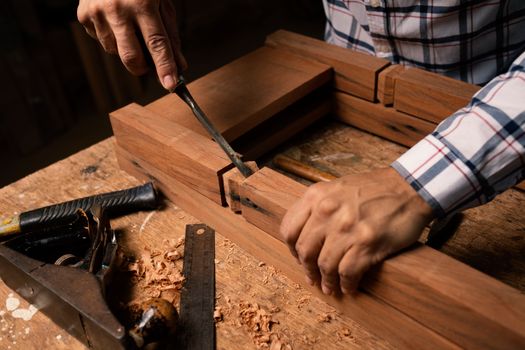
Start by attaching the bottom piece to the two side pieces. Apply wood glue to the ends of the bottom piece and secure it with wood screws from the outside. Use clamps to hold it in place while the glue dries. Repeat this process for the top piece.
Next, measure and mark where the shelves will go. A good spacing is about 12 to 15 inches apart, depending on your needs. Drill pilot holes to avoid splitting the wood, and then attach the shelves using screws. Ensure everything is level and secure.
4. Sand and Finish
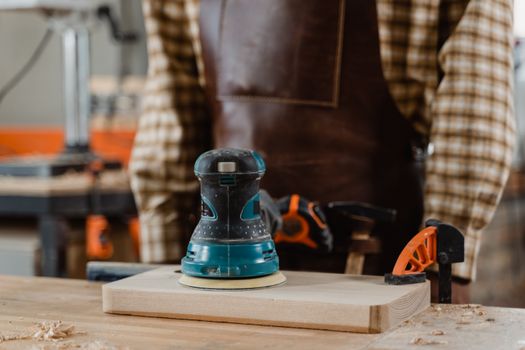
Once your bookshelf is assembled, it’s time to sand it down. Start with 120 grit sandpaper to smooth out any rough edges, followed by 220 grit for a finer finish. This step is crucial for a professional look and to ensure there are no splinters.
After sanding, you can choose to paint or stain your bookshelf. If you're on a budget, consider using leftover paint from previous projects or purchasing a budget-friendly wood finish. Apply a couple of coats for durability.
5. Add Optional Features
For added stability, especially if you plan to load the shelves with heavy books, consider installing brackets at the back of the bookshelf. This will help prevent tipping. You can also personalize your bookshelf with decorative trim or by adding a back panel for a more finished look.
Cost-Saving Tips
- Repurpose materials: Check your garage or local classifieds for leftover wood and materials.
- Buy in bulk: If you plan on building more furniture, purchasing wood and screws in bulk can save you money.
- Use Ted Woodworking: This resource offers a wide variety of plans that can help you design your bookshelf at minimal cost.
- DIY finishing: Instead of hiring someone, learn to finish your furniture yourself with affordable techniques.
Conclusion
Building a simple bookshelf is not only an excellent way to practice your woodworking skills, but it also allows you to create a piece that fits your space and style perfectly. By using budget-friendly materials and taking advantage of available resources, like Ted Woodworking, you can build a beautiful and functional bookshelf without breaking the bank.
FAQ
1. How long does it take to build a simple bookshelf?
Depending on your skill level and the complexity of your design, building a simple bookshelf can take anywhere from a few hours to a full day.
2. What type of wood is best for a bookshelf?
Plywood is an excellent choice for budget builds due to its strength and affordability. Solid wood options like pine or oak can also be considered for a more finished look.
3. Can I customize the size of my bookshelf?
Absolutely! You can adjust the dimensions based on your specific needs and available space. Just remember to keep the proportions balanced for stability.
📚 Related Articles
🔨 Want 16,000+ Woodworking Plans?
Get instant access to step-by-step plans with blueprints and cut lists.
Get Instant Access →