Introduction
Building a storage bench is a rewarding project that combines functionality with style. Whether you need extra seating or a place to store shoes, toys, or blankets, a storage bench can serve multiple purposes. In this article, we will guide you through the process of creating a storage bench using basic woodworking skills, while emphasizing advanced techniques focusing on joinery, precision, and achieving a professional finish.
Materials and Tools
Before diving into the construction process, it is essential to gather the necessary materials and tools. Here is a breakdown of what you'll need:
- Materials:
- 3/4-inch plywood or hardwood for the bench structure
- 1x4 or 1x6 boards for the top and trim
- Wood glue
- Screws (1 1/4 inch and 2 inch)
- Wood finish (paint or stain)
- Sandpaper (120 and 220 grit)
- Hinges for the lid
- Optional: Cushion for seating
- Tools:
- Table saw or circular saw
- Miter saw
- Drill/driver
- Screwdriver
- Clamps
- Square
- Measuring tape
- Level
- Router (optional for decorative edges)
Step 1: Planning and Design
Start by sketching a design for your storage bench. Consider the dimensions based on the space available and the intended use. A typical size might be around 48 inches long, 18 inches high, and 18 inches deep. Once you have a plan, create a cut list to streamline the process.
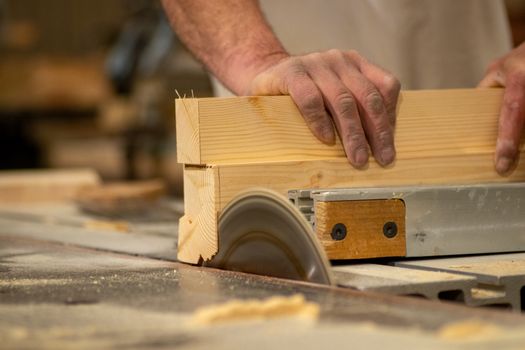
For precise cuts, using a table saw or a circular saw with a straight edge will yield the best results. Ensure your measurements are accurate to avoid any misalignments later.
Step 2: Cutting the Wood
With your design in place, begin cutting your wood according to the cut list. Here are the primary components you'll need to cut:
- Two side panels (18"x18")
- One back panel (48"x18")
- Two front panels (48"x18")
- Top panel (48"x18")
- Optional: Bottom panel or shelves for additional storage
Always double-check your measurements before making cuts, and use a square to ensure all angles are straight.
Step 3: Joinery Techniques
For a professional finish, the joinery is crucial. There are various methods you can use, but we will focus on a few key techniques that are accessible yet effective:
Using Pocket Holes
Pocket hole joinery is a straightforward method that allows for strong, hidden joints. Using a pocket hole jig, drill holes at an angle into the edge of your panels. This method works well for attaching the side panels to the back and front panels.
Butt Joints with Wood Glue and Screws
Another effective option is the traditional butt joint, reinforced with wood glue and screws. Apply glue to the edge of the wood and use clamps to hold the pieces together while drilling screws through the face of one board into the edge of the other.
Adding a Bottom Panel
If you choose to include a bottom panel or shelves, you can use dados (a groove cut into the wood) to provide additional support. This ensures a sturdy structure and prevents sagging over time.
Step 4: Assembling the Bench
Once all your pieces are cut and joined, it's time to assemble the bench. Start by attaching the back panel to the side panels using your chosen joinery method. Next, attach the front panels, ensuring everything is square and level.
After the frame is assembled, add the bottom panel if applicable. Finally, attach the top panel, ensuring it is flush with the sides for a clean look.
Step 5: Preparing for Finish
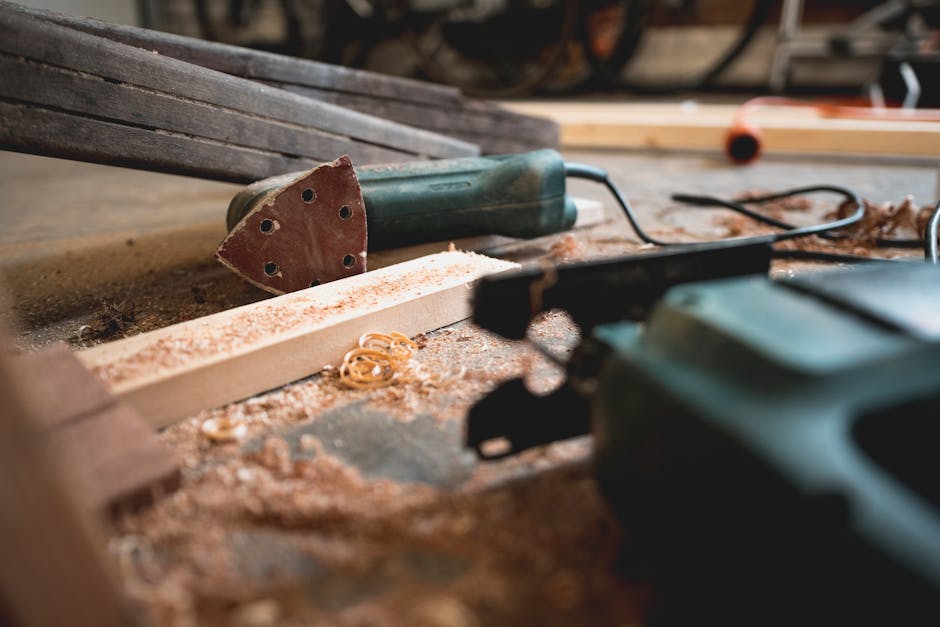
Before applying any finish, it is essential to sand the entire bench thoroughly. Start with 120 grit sandpaper to remove any rough spots and then finish with 220 grit for a smooth surface. Pay special attention to edges and corners to avoid splinters.
Step 6: Finishing Touches
Once sanded, you can choose to paint or stain your storage bench. If staining, apply a wood conditioner first to ensure even coverage. Follow with your chosen stain and then finish with a clear coat for durability.
For added comfort, consider adding a cushion on top of the bench. A custom cushion can be easily made using foam and fabric that complements your decor.
Step 7: Adding Hinges for the Lid
If you want your bench to have a storage compartment, you will need to attach hinges to the back of the top panel. Position the hinges evenly spaced from the edges and ensure that the lid opens smoothly. Test the mechanism before finalizing your finish.
Conclusion
Building a storage bench can be an enjoyable and fulfilling project that enhances your home. By focusing on joinery, precision, and a professional finish, you can create a functional and attractive piece of furniture. For detailed plans and guidance, consider resources like Ted Woodworking, which offer comprehensive plans for various woodworking projects.
FAQ
- What type of wood is best for a storage bench?
Hardwoods like oak or maple provide durability, while plywood is cost-effective and can still offer a beautiful finish.
- How can I ensure my bench is sturdy?
Use proper joinery techniques, reinforce joints with screws and glue, and consider adding a bottom panel for extra support.
- Is this project suitable for beginners?
Yes, with basic woodworking skills and the right tools, beginners can successfully build a storage bench by following these steps.
📚 Related Articles
🔨 Want 16,000+ Woodworking Plans?
Get instant access to step-by-step plans with blueprints and cut lists.
Get Instant Access →