Introduction
Building a wooden toy box with your child is not just a fun weekend project; it's an excellent way to bond, teach valuable skills, and create something meaningful together. In this guide, we'll walk you through the steps to create a beautiful, functional toy box while keeping costs low. Whether you're a seasoned woodworker or a beginner, this project is accessible and rewarding.
Choosing the Right Materials
When it comes to building a toy box, selecting affordable materials is key. Here are some cost-saving tips to help you choose wisely:
- Plywood: This is often one of the most economical choices for building furniture. Look for high-quality birch or pine plywood; it’s sturdy and easy to work with.
- Reclaimed Wood: Salvaged wood from old furniture or pallets can give your toy box character and save you money. Just ensure the wood is safe and free from harmful chemicals.
- Softwood: Pine, fir, or cedar are budget-friendly and lightweight options. They are easier to cut and shape, making them ideal for beginners.
- Hardware: Look for bulk packs of screws and hinges at your local hardware store to save on costs. You can often find affordable options that don't sacrifice quality.
Gathering Tools
Before you start building, gather the necessary tools. Here’s a basic list:
- Measuring tape
- Square
- Hand saw or circular saw
- Drill
- Screwdriver
- Sander or sandpaper
- Paintbrush or roller (if finishing)
Don’t worry if you don’t own all these tools; many can be rented from local hardware stores, which can save you money.
Finding Plans
To create your toy box, you’ll need a solid plan. One excellent resource for plans is Ted Woodworking, where you can find a variety of designs tailored to different skill levels. Choose a simple box design that includes safety features, such as rounded corners and a lightweight lid, to prevent injuries.
Building Steps
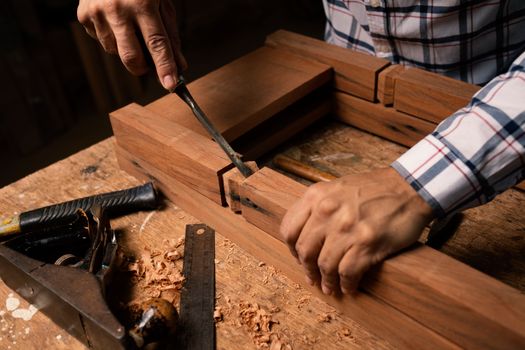
Step 1: Preparing the Wood
Start by measuring and cutting your wood according to the plans you've chosen. A standard toy box size is around 30 inches long, 18 inches wide, and 18 inches high, but feel free to customize it to fit your space and needs. Here are some tips:
- Always double-check your measurements before cutting.
- Use a square to ensure your cuts are straight.
- Sand the edges of the cut pieces to avoid splinters.
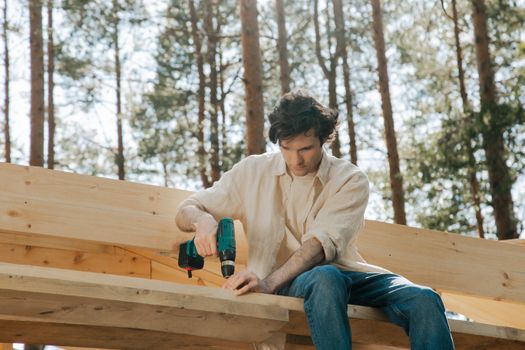
Step 2: Assembling the Box
Begin assembling the box by attaching the sides to the bottom piece using screws. Here’s a simple method:
- Lay the bottom piece flat.
- Attach the side panels using screws, making sure everything is square.
- Once the sides are attached, add the front and back panels in the same manner.
Make sure to pre-drill holes to avoid splitting the wood.
Step 3: Adding the Lid
The lid can be a simple piece of plywood that fits snugly on top. You may want to add hinges to one side for ease of access:
- Attach the hinges to the back edge of the lid.
- Ensure the lid opens smoothly and does not slam shut.
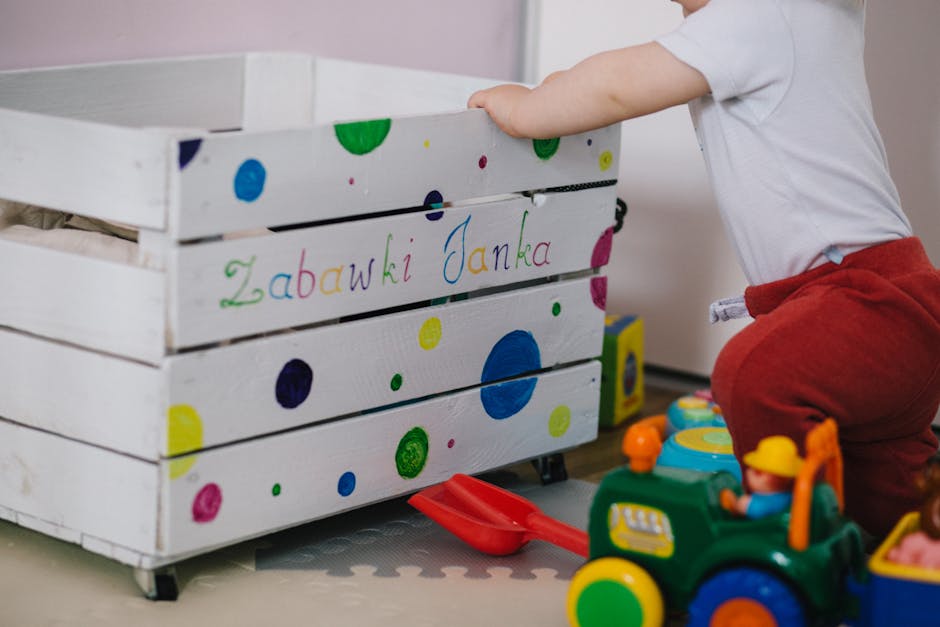
Step 4: Finishing Touches
Finally, it’s time to finish your toy box. Here are some cost-effective finishing options:
- Paint: Use non-toxic, child-safe paint in bright colors to make it fun and inviting.
- Stain: If you prefer a natural wood look, apply a stain followed by a clear sealant to protect the wood.
- Decals: Let your child personalize the box with fun decals or stickers.
Safety Considerations
When building a toy box, safety should be your top priority. Here are some important considerations:
- Ensure all edges are sanded smooth to prevent splinters.
- Install a lid support to prevent the lid from falling on little fingers.
- Use child-safe finishes and paints to avoid harmful chemicals.
Conclusion
Building a wooden toy box with your child is not only a budget-friendly project but also a wonderful way to create lasting memories. With the right materials, tools, and plans, you can create a functional and beautiful toy box that your child will cherish for years to come. Remember, the best part of this experience is the time spent together, so enjoy every moment!
FAQs
1. How much will it cost to build a wooden toy box?
The cost can vary depending on the materials you choose, but you can typically build a basic toy box for under $100 if you shop smart.
2. Can my child help with the construction?
Absolutely! Depending on their age, they can assist with measuring, sanding, painting, and even some assembly tasks.
3. What age is appropriate for this project?
This project is great for kids aged 5 and up, as they can actively participate and learn valuable skills while working alongside you.
📚 Related Articles
🔨 Want 16,000+ Woodworking Plans?
Get instant access to step-by-step plans with blueprints and cut lists.
Get Instant Access →