Understanding Wood Grain Patterns
When diving into the world of woodworking, one of the most essential elements to consider is the grain pattern of the wood you are working with. The grain of the wood not only influences the aesthetic appeal of your project but also plays a crucial role in how the finish you choose will look and perform.
What Are Wood Grain Patterns?
Wood grain patterns are the natural lines and textures that you see on the surface of wood. These patterns can vary significantly between different species of wood and can even differ within the same species. Understanding these patterns is vital for achieving a beautiful finish.
Why Grain Patterns Matter
- Aesthetic Appeal: Different grain patterns can enhance the visual interest of your piece.
- Finish Absorption: Grain patterns can affect how a finish is absorbed into the wood.
- Durability: Certain finishes may perform better depending on the wood’s grain structure.
Aesthetic Appeal
Grain patterns can dramatically change the appearance of your finished piece. A rich, swirling grain pattern can add depth and character, while a straight grain might provide a more modern and sleek look. By considering the grain, you can choose a finish that enhances these qualities.
Finish Absorption
Wood has different densities based on its grain. Open grain woods, like oak, have larger pores and can absorb finishes differently than closed grain woods, like maple. This can lead to variations in color and sheen. Knowing your wood's grain type helps you select a finish that will provide even coverage.
Durability
The grain structure can influence how well a finish holds up over time. For example, a finish that works well on a dense, straight-grained wood may not perform well on an open-grained wood. By understanding the characteristics of the grain, you can choose a finish that will last longer and maintain its beauty.
Choosing the Right Finish for Different Grain Patterns
Now that we understand the importance of grain patterns, let’s look at how to choose the right finish for various types of wood.
1. Open Grain Woods
Examples: Oak, Ash, Walnut
- Recommended Finishes: Grain fillers are often used to fill the pores and create a smooth surface. Consider using a gel stain or a wiping varnish to achieve a rich color without losing the grain's character.
2. Closed Grain Woods
Examples: Maple, Birch, Cherry
- Recommended Finishes: These woods tend to accept finishes more uniformly. A simple lacquer or polyurethane can enhance the natural beauty without needing fillers.
3. Exotic Woods
Examples: Teak, Mahogany, Rosewood
- Recommended Finishes: These woods often have unique grain patterns and colors. A clear finish, like a high-quality varnish, will help to showcase their beauty without overwhelming the grain.
Step-by-Step Guide to Finishing Your Wood Project
Now that you know how to choose the right finish based on grain patterns, let’s walk through a simple step-by-step process to finish your woodworking project.
Step 1: Prepare Your Wood
Start by sanding your wood surface with progressively finer grits of sandpaper (starting with 80 grit and moving to 220 grit). This will help to smooth the surface and prepare it for finishing.
Step 2: Choose Your Finish
Select a finish that complements the grain pattern of your wood. Refer back to the guidelines above to make an informed choice.
Step 3: Test the Finish
Before applying the finish to your entire project, test it on a scrap piece of the same wood. This will give you an idea of how the color and sheen will appear on the finished product.
Step 4: Apply the Finish
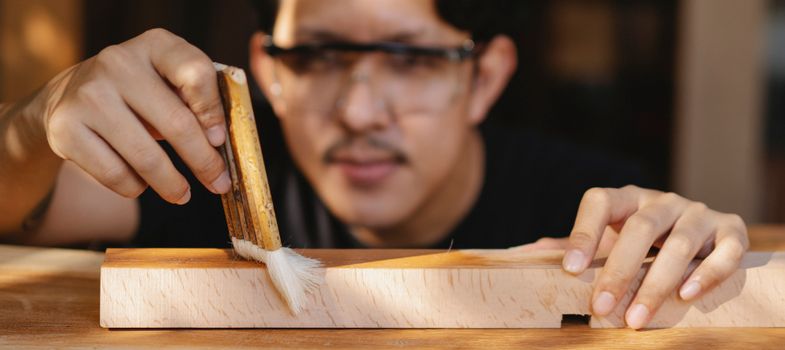
Using a brush or cloth, apply the finish evenly, following the direction of the grain. Be careful to avoid drips and puddles.
Step 5: Allow to Dry
Let the finish dry completely as per the manufacturer’s instructions. This is crucial for achieving a durable and attractive finish.
Step 6: Sand Between Coats
If you are applying multiple coats, lightly sand between each coat with fine-grit sandpaper to ensure a smooth surface and better adhesion.
Step 7: Final Coat
Apply the final coat of finish. This will seal your wood and protect it from wear and tear.
Finding Plans and Resources
If you're looking for more guidance on woodworking projects, consider checking out Ted Woodworking. They offer a wide variety of plans that can help you develop your skills and create beautiful furniture.
Conclusion
Choosing the right finish based on wood grain patterns is essential for any woodworking project. By understanding how grain affects the appearance and performance of finishes, you can make informed decisions that elevate your work. With a little practice and the right techniques, you'll be able to achieve stunning results in your woodworking endeavors.
FAQ
1. How do I know what type of grain my wood has?
You can determine the type of grain by examining the surface closely. Open grains have visible pores, while closed grains feel smooth to the touch.
2. Can I use the same finish on all types of wood?
While some finishes can work on multiple wood types, it's best to choose a finish that complements the specific grain pattern for optimal results.
3. How can I fix a mistake I made while finishing?
If you mistakenly applied too much finish or it dried unevenly, you can sand it down and reapply the finish following the proper steps.
📚 Related Articles
🔨 Want 16,000+ Woodworking Plans?
Get instant access to step-by-step plans with blueprints and cut lists.
Get Instant Access →